Ingredients
Equipment
Method
Mix the Gluten Free Sourdough Bread Dough
- Timing Tip: I usually feed my gluten free sourdough starter around 5-6 pm, when I'm in the kitchen making dinner. Make sure it is thick and paste like.
- First, start with an active and recently feed gluten free sourdough starter. You want to use it when it is at it's peak of activity/ rise and hasn't fallen, usually 4-6 hours after being fed.
- Prepare the Psyllium Gel: In a medium bowl, whisk together the warm purified water and whole psyllium husk.Set the mixture aside to sit for about 5 minutes, until it forms a thick gel.500 grams Warm Purified water , 20 grams Whole Psyllium Husk
- Mix the Dry Ingredients: In the bowl of a stand mixer, add the Measure for Measure Gluten Free Blend, Brown Rice Flour and Salt.Stir briefly to combine the dry ingredients evenly.400 grams King Arthur's Gluten-free Measure for Measure Flour, 60 grams Brown Rice Flour, 12 grams Sea Salt
- Combine the Wet Ingredients: Add the active gluten-free sourdough starter and olive oil (if using) to the psyllium gel.Mix all the wet ingredients together until everything is well combined.90 grams Gluten Free Sourdough Starter , 14 grams Olive Oil
- Mix the Dough: Pour the wet mixture into the bowl of the stand mixer with the dry ingredients.Attach the dough hook and mix on speed 2–3 for about 7 minutes, until the dough is smooth and fully combined.
- Do not add extra water at this point. The gluten-free flours will continue absorbing moisture as the dough mixes. If at the very end of mixing, it still looks like it has dry spots, add a few drops of water at a time
- Shape the Dough: Turn the dough out onto a clean work surface.
- Gently shape it into a round loaf using lightly damp hands if needed to prevent sticking. Use circular motions to build tension to the sides and bottom of the loaf to close gaps and seams.
- Prepare the Banneton Basket: Line a banneton basket with a clean towel or lightly dust it with brown rice flour.If you don’t have a banneton basket, a medium mixing bowl lined with a towel works well.
- Place the shaped dough seam-side up into the prepared basket.
- Proof the Dough: Cover the dough with plastic wrap (if you live in a dry climate) and then fold the towel over the top.
- Let the dough bulk ferment and proof overnight at room temperature.
- If your kitchen is very warm, or you wish to bake later the next day, you can place the dough in the refrigerator overnight to slow the fermentation.
- The dough will not double in size but should look slightly puffed by morning.
The Next Day
- Preheat the Oven: In the morning, place a Dutch oven with its lid on the middle rack of your oven.Preheat the oven to 425°F (218°C) and allow the Dutch oven to heat for 45 minutes.
- Tip: If your bread typically develops a tough bottom crust, place a sheet pan on the rack below the Dutch oven to diffuse the heat.
- Score the Loaf: Turn the dough out onto a sheet of parchment paper.Use a sharp knife or bread lame to slash the top of the loaf. This directs the steam and controls how the bread rises during baking.
- For the main score, make a cut about ½ inch deep with the blade held straight down. Then go over the same cut again, this time holding the blade at about a 45° angle. This second angled pass helps create a classic sourdough “ear” as the loaf expands in the oven. The rest of the scoring is for decoration.
- Bake Covered: Carefully remove the hot Dutch oven from the oven.Lower the loaf (on the parchment paper) into the Dutch oven.Cover with the lid and bake for 50 minutes.
- Bake Uncovered: Remove the lid and continue baking for 10-15 minutes, until the crust deepens in color.
- Check Internal Temperature: The loaf is fully baked when the internal temperature reaches 210–215°F (99–102°C).
- Cool Completely: Remove the bread from the Dutch oven and place it on a wire cooling rack.Allow the loaf to fully cool before slicing. Gluten-free sourdough bread needs time to set its crumb, and cutting too soon can make the interior gummy.
Nutrition
Video
Notes
Video: Gluten-Free Sourdough Bread (Using King Arthur Measure for Measure)
Watch the full process for making this gluten-free sourdough bread using King Arthur Measure for Measure flour, including dough texture, shaping, and scoring before baking.Notes about Banneton Baskets and Design:
-
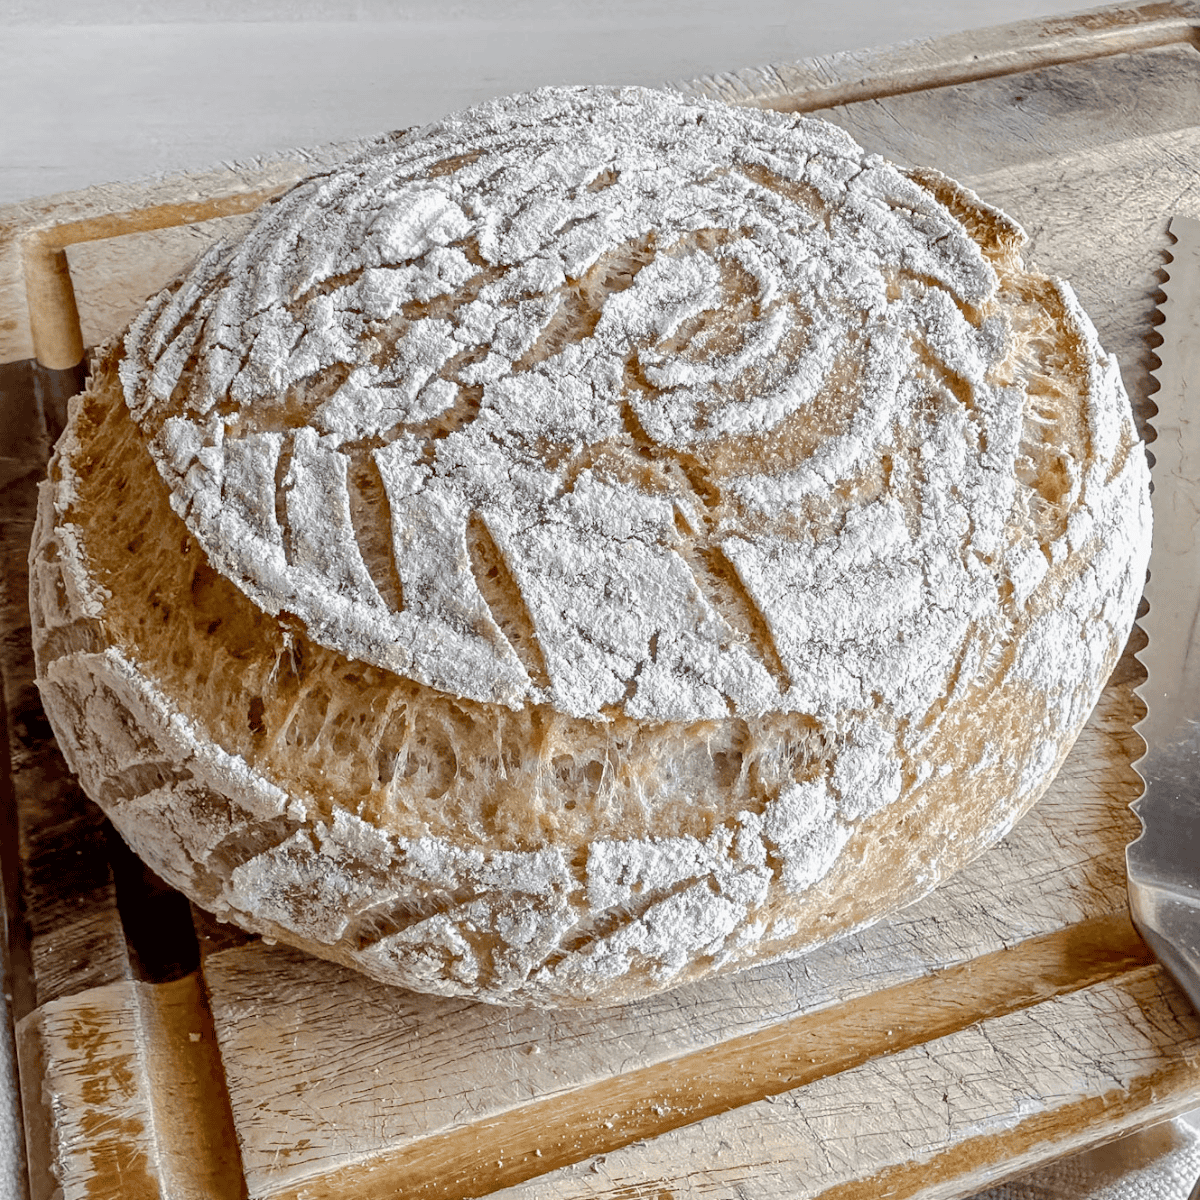
- If you want to keep the classic ridged pattern from the banneton basket, dust the basket directly with rice flour or gluten free flour blend. It will help the dough release cleanly and helps define the lines.
-
- If you prefer a smooth finish with no ridges, line the basket with a clean tea towel and dust the towel with rice flour of the gf flour blend.
FOR A BETTER RISE AND THAT CLASSIC SOURDOUGH "EAR"
I've found it works best to make the main score with a straight-down cut about 1/4 inch deep, then follow it with a second pass at a 45 degree angle along the same line. This helps the loaf open up beautifully as it bakes.Proofing tip
PLACE THE DOUGH IN A SPOT AROUND 75 DEGREES FAHRENHEIT TO RISE OVERNIGHT If your house if very warm, (or it is the summer) you may want to refrigerate the dough overnight to prevent over proofing. If your home is cool, (especially in winter), try setting the basket on top of the refrigerator or on the counter above the dishwasher after a cycle; both spots tend to be lightly warmer and can help the dough rise more steadily.Notes About Timing
If you want fresh gluten-free sourdough bread around lunchtime, a little planning the day before makes all the difference. Here is the general timeline I follow:-
- 6 PM The Evening Before I Want Fresh Baked Bread:
-
- Feed gluten-free sourdough starter so it is active and bubbly by the time you're ready to mix the dough.
-
- 6 PM The Evening Before I Want Fresh Baked Bread:
-
- 9-10 PM That Same Evening:
-
- Mix the dough together following steps 1-11 of the recipe. Then let it rise/ proof overnight.
-
- 9-10 PM That Same Evening:
-
- 7 am the Next Morning:
-
- Continue with steps 12-20, shaping, scoring, baking and cooling the loaf. By about noon, it should be fully cooled and ready to enjoy.
-
- 7 am the Next Morning:
Recipe Tips and Troubleshooting
Working with gluten-free flours and blends can be tricky, especially when you're first starting out. The dough will feel different than traditional wheat based dough. It will feel sticker, wetter and a little less predictable. Psyllium husk helps with structure, but it also adds some of the sticky texture.Too Sticky or Gummy
-
- Because of the psyllium husk and the starches included in the King Arthur Measure for Measure gluten free flour blend, this bread will be naturally a little squishy or gummy when fresh. Do not cut into it until it has fully cooled, as the cooling time helps things set in the bread's "crumb."
-
- A little gumminess is normal with this beginner-friendly recipe. I like it best toasted.
-
- This was actually the first gluten free sourdough bread I ever made! I designed it to be a simple, approachable introduction using a cost-effective, store-bought gluten free flour blend that’s easy for most people to find. Many gluten free bread recipes require several specialty flours, which can be expensive and hard to source, this one keeps it simple without a big investment.
-
- A little gumminess is normal with this beginner-friendly recipe. I like it best toasted.
Crust Is Too Hard
- If the bottom of your loaf is turning out too tough, place an empty cookie sheet on the rack below your bread. This helps diffuse the oven’s heat and protects the bottom crust from over-browning.
- If the top crust is too hard, brush it lightly with butter or oil while the bread is still warm. This softens the crust as the loaf cools.