This classic cheese ball recipe is one of those crowd-favorite appetizers that never goes out of style. Made with blocks of cream cheese, sharp cheddar, and simple ingredients you probably already have on hand, it’s the kind of delicious appetizer that shows up year after year for good reason.
Whether you’re putting together Christmas appetizers for a holiday party, planning a casual get-together, or looking for a fun football game appetizer or Super Bowl snack, this homemade cheese ball fits right in. You can shape it into a traditional round or even form it into a football-style shape for game day, either way, it’s a perfect party appetizer that disappears fast.
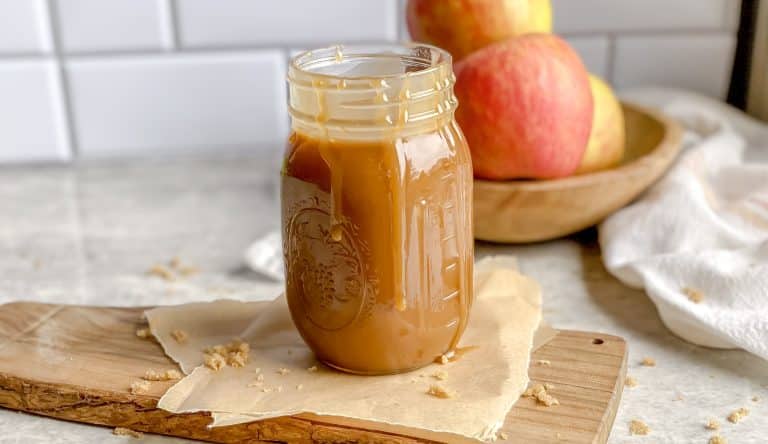
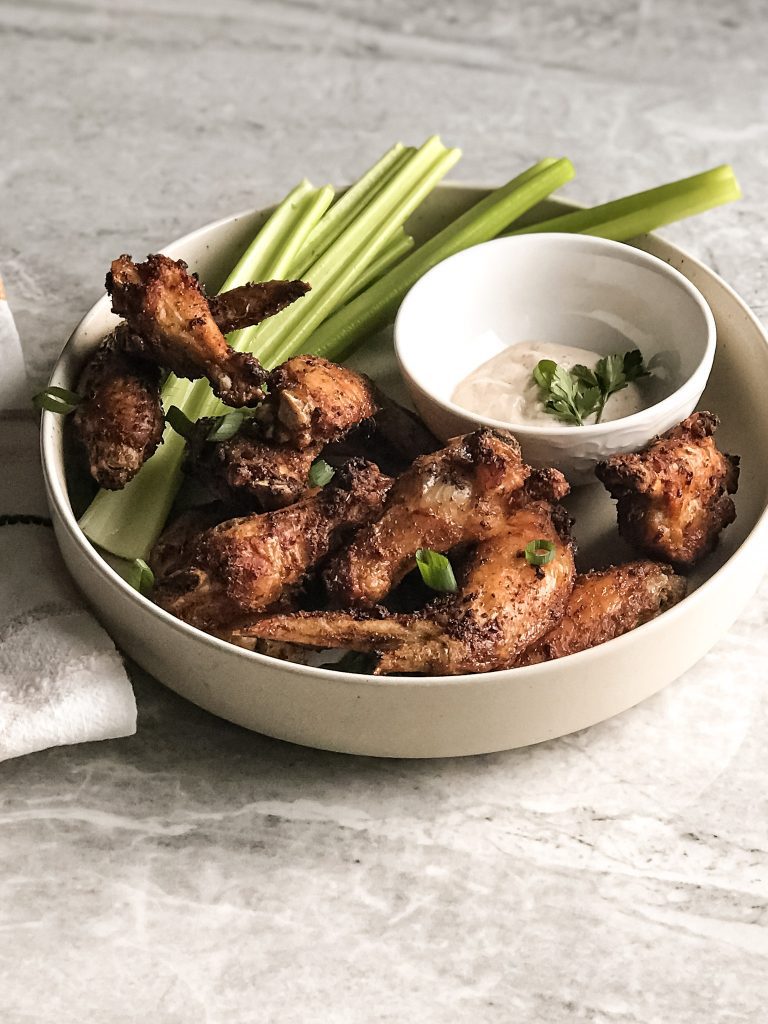
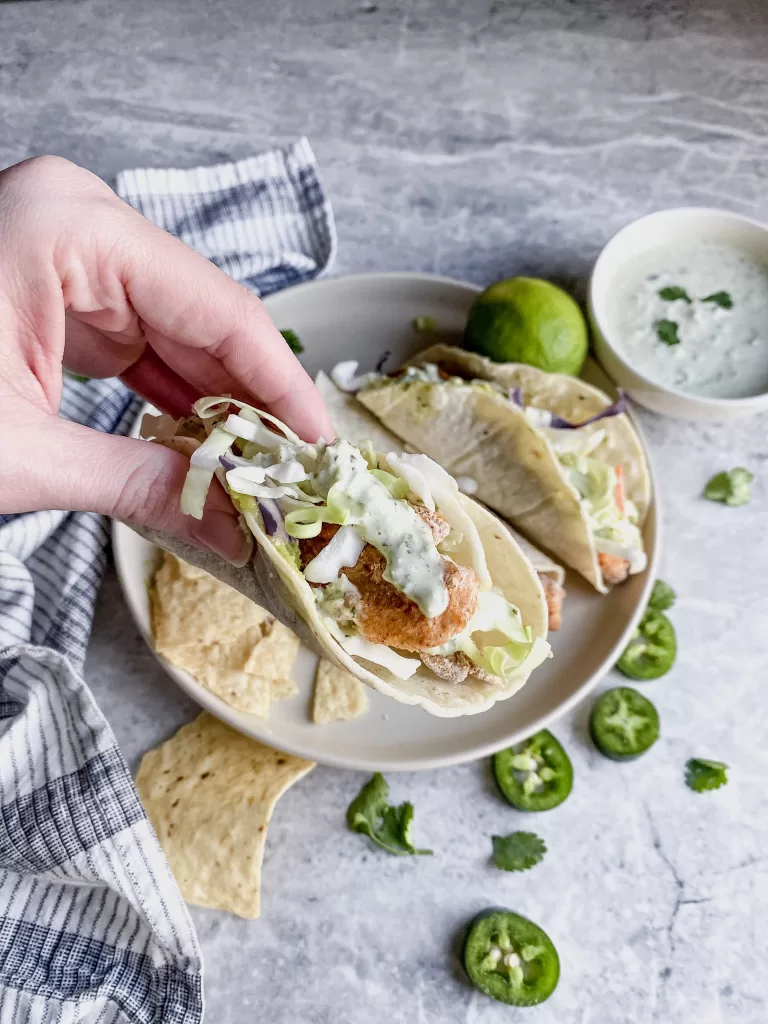
Looking for more ideas for appetizers? Try out Air Fryer Chicken Wings, and The Best Cilantro Lime Crema Sauce
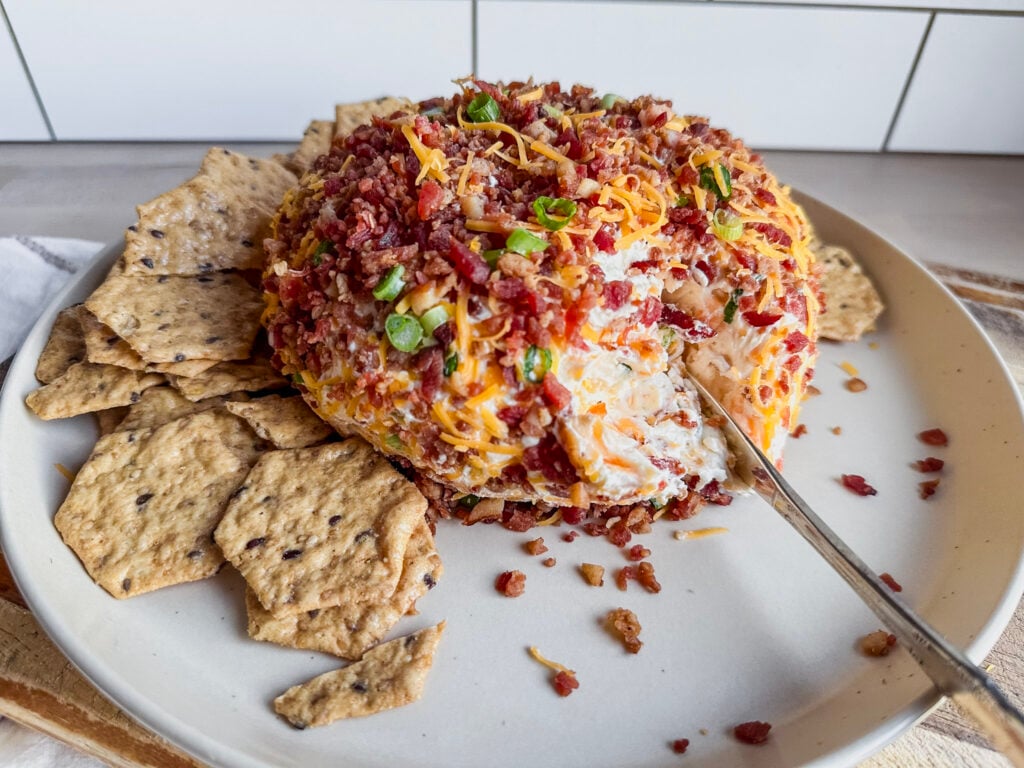
Classic Cheese Ball with Cream Cheese and Bacon
Please note that this post may contain affiliate links. As an Amazon Associate, I may earn commissions from qualifying purchases, at no additional cost to you. Thank you for your support!
Why You’ll Love This Recipe
Recipe Ingredients for a Classic Cheese Ball for Parties
Note:
Below are the key ingredients you’ll need. You can find the complete list with measurements in the recipe card at the bottom of the post.
Ingredient Notes and Substitutions
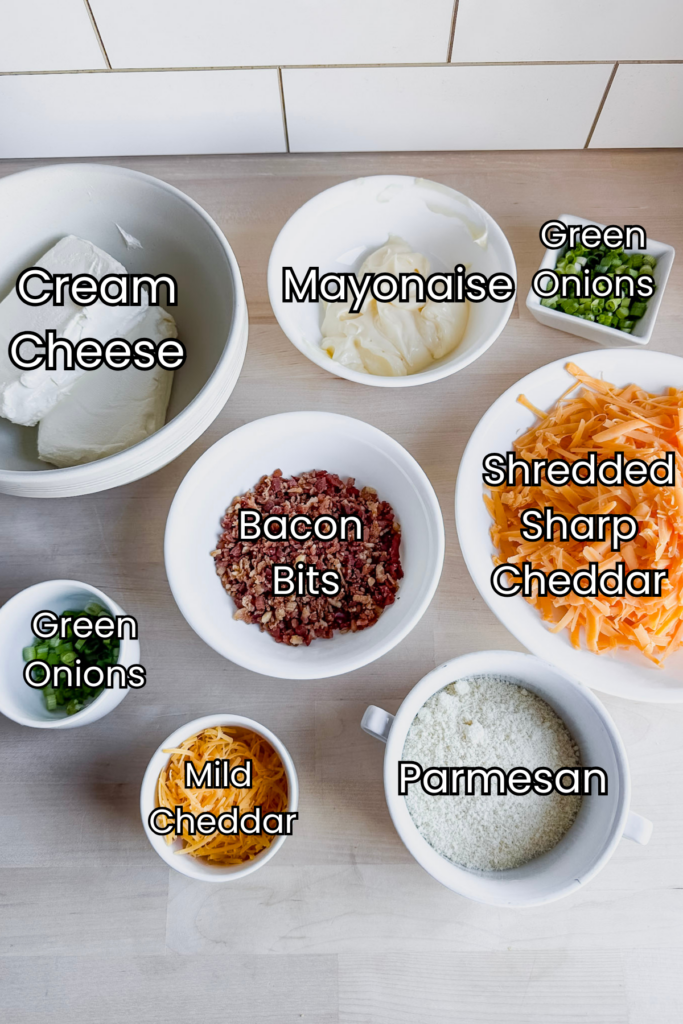
Ingredients You’ll Need
This cream cheese ball starts with a smooth, well-balanced cream cheese mixture that’s easy to mix and full of flavor.
- Blocks of cream cheese – Always use full blocks and let them soften to room temperature for the best texture.
- Sharp cheddar cheese – A sharp cheese adds much flavor without overpowering.
- Parmesan Reggiano – Adds depth and a savory bite.
- Mayonnaise – Keeps the mixture creamy and spreadable.
- Green onions – Fresh flavor and adds color.
- Black pepper – Fresh cracked makes a difference.
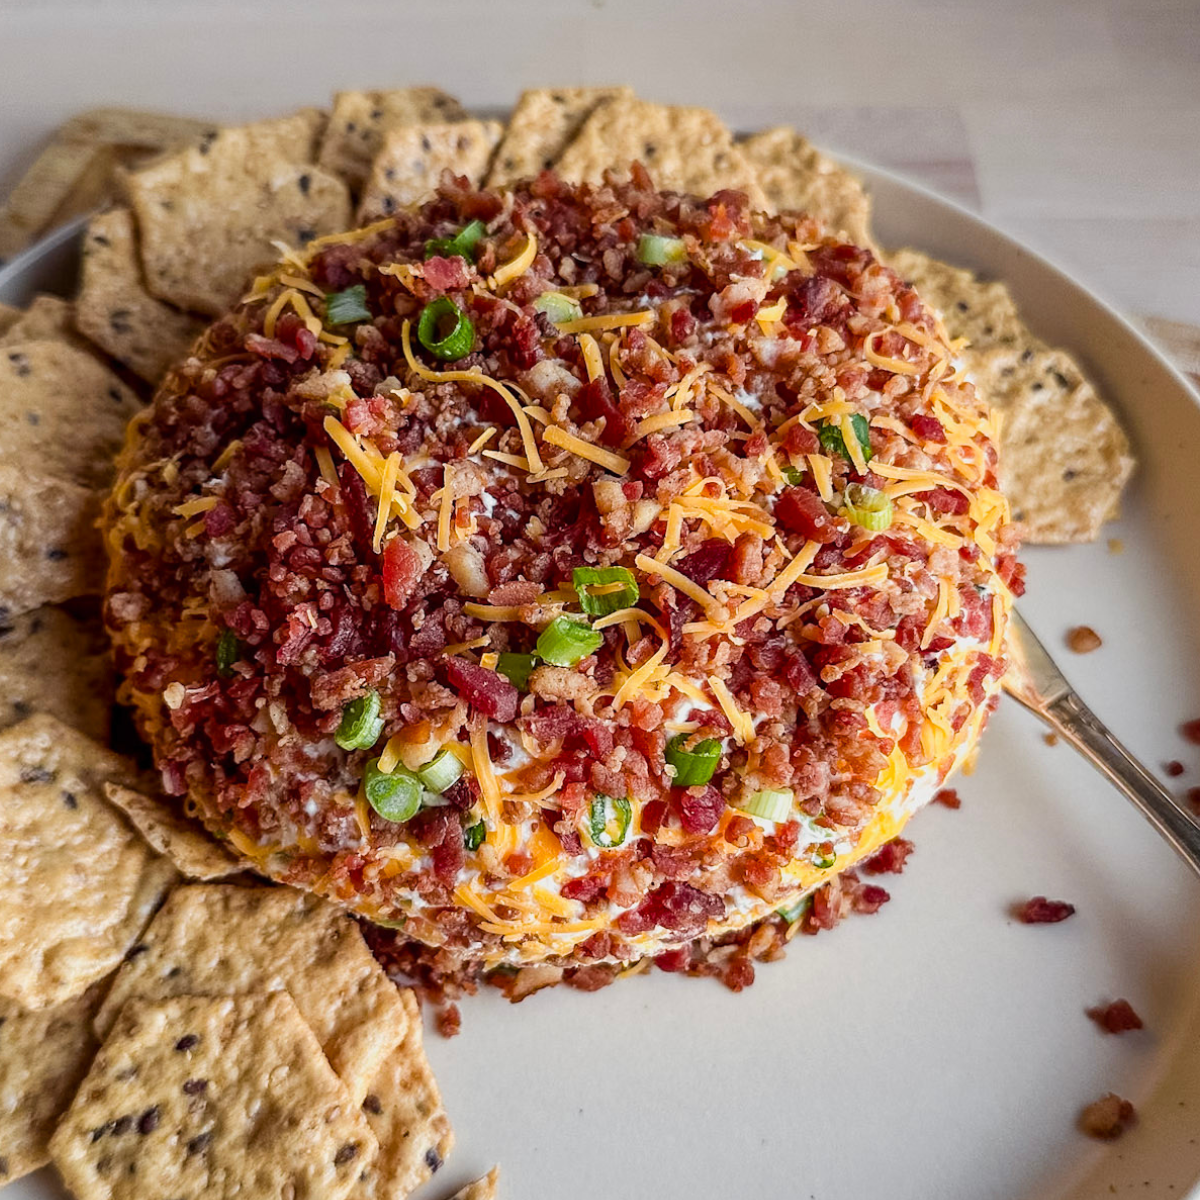
- Bacon bits – Salty, savory, and classic.
This recipe also works well as a base for different flavors if you want to experiment later with pepper jack, goat cheese, or other different types of cheese. You can even add a splash of hot sauce, Worcestershire sauce, or a pinch of garlic powder or onion powder if you’d like, but it’s delicious just as written.
How to Make Cheese Ball Recipe: Step By Step Instructions
Here are some quick visual instructions. Remember that full instructions with exact ingredients will be in the recipe card below!
This simple recipe comes together quickly with minimal tools.
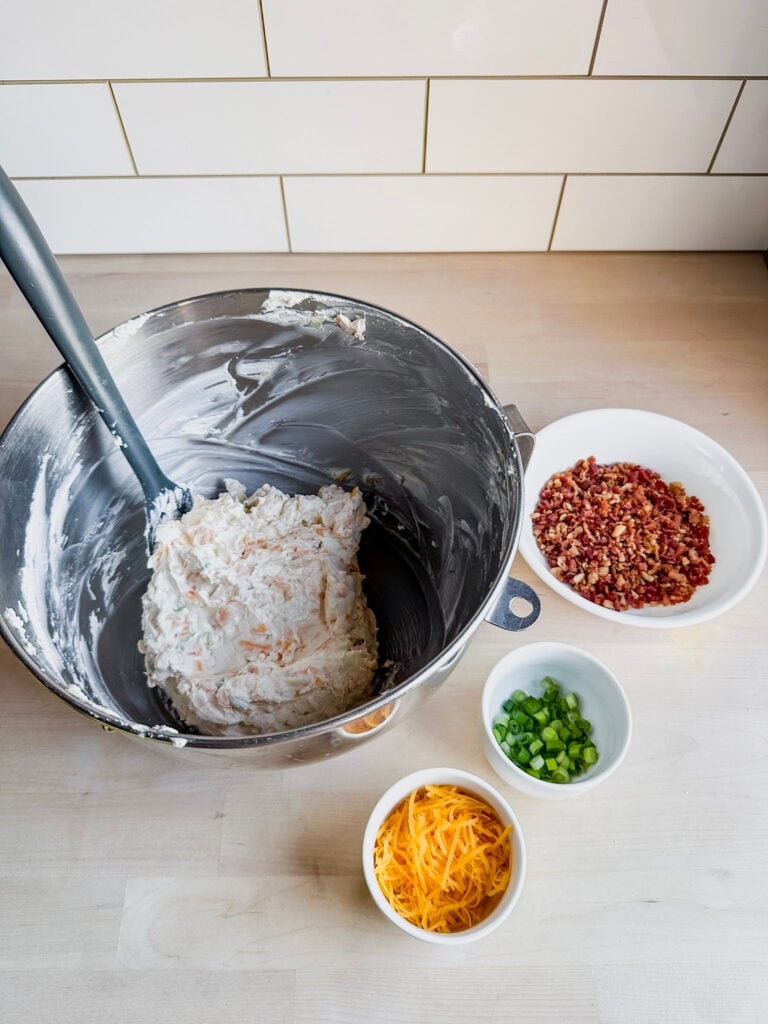
1. First thing, make sure your cream cheese is fully softened to room temperature. Combine all cream cheese, sharp cheddar, parmesan cheese, mayonnaise, green onions (minus the reserved portion for topping) and black pepper
2. Using a stand mixer or hand mixer, mix on medium speed until smooth and fully combined.

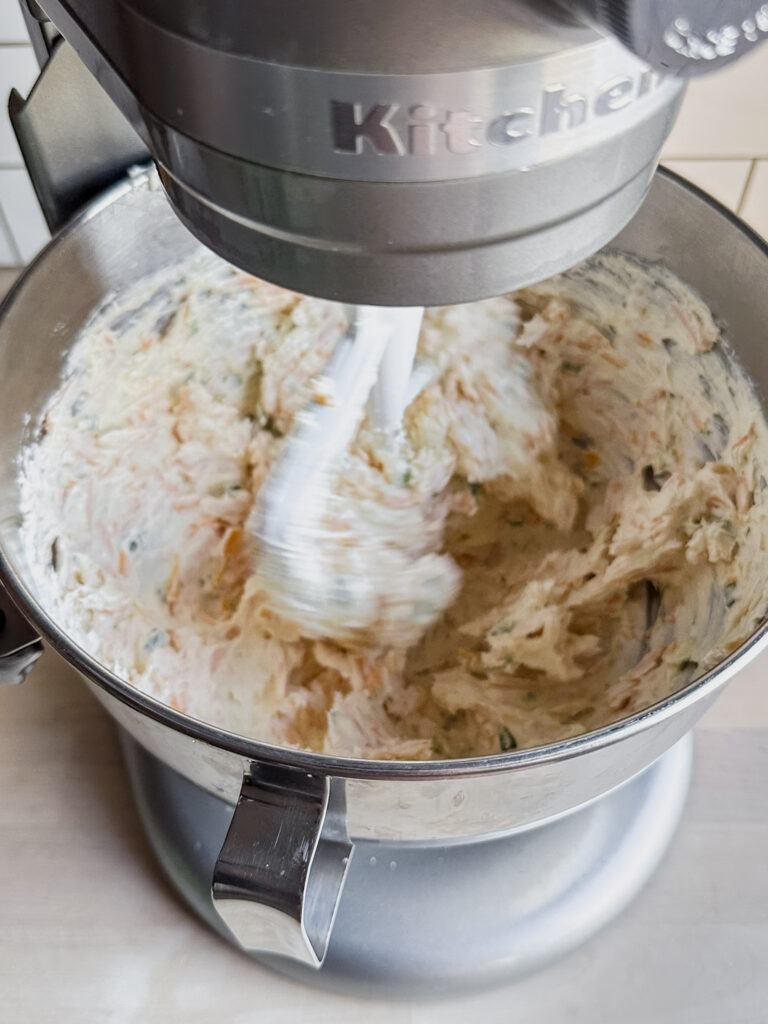
3: Scrape down the sides and form into a loose ball in the bottom of the mixing bowl.
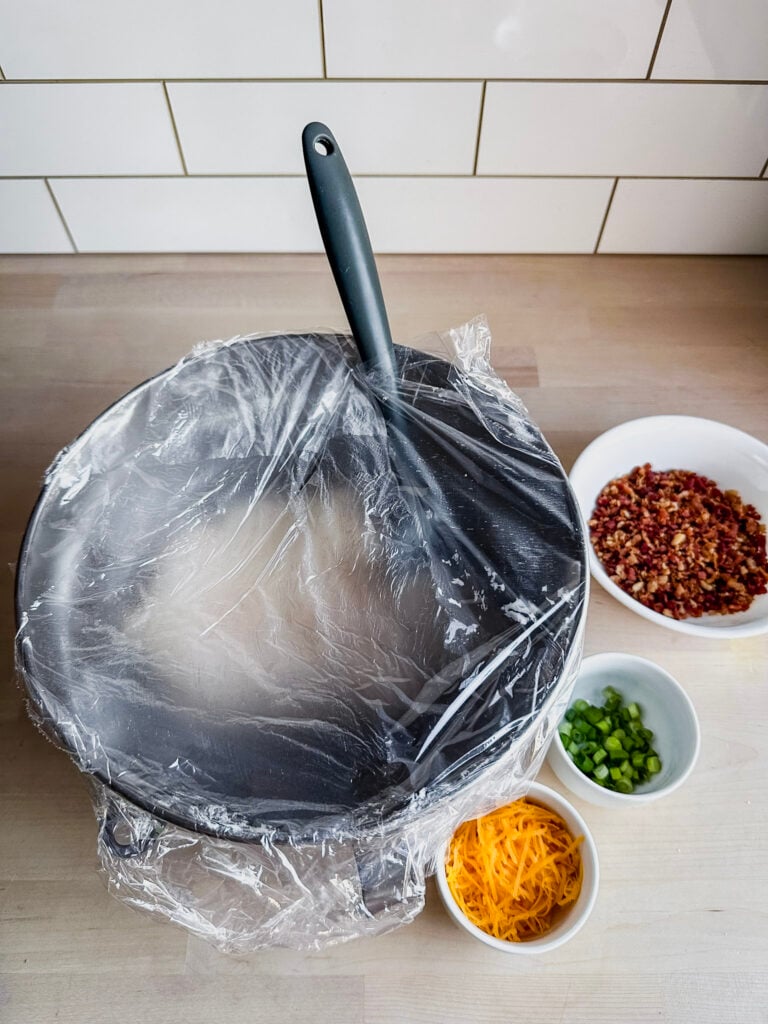
4: Cover the bowl tightly with plastic wrap and refrigerate for at least 2 hours for the flavors to blend.
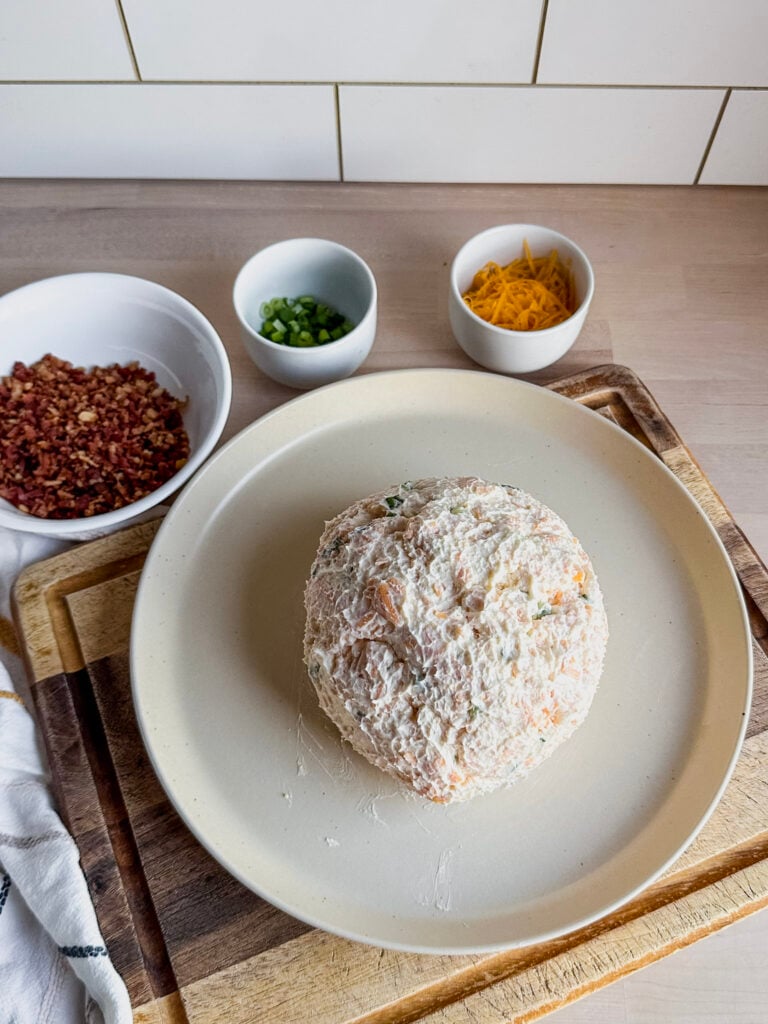
5. Once chilled, transfer the cheese ball mixture onto your serving plate and shape it into a round ball or a football shape, if desired.
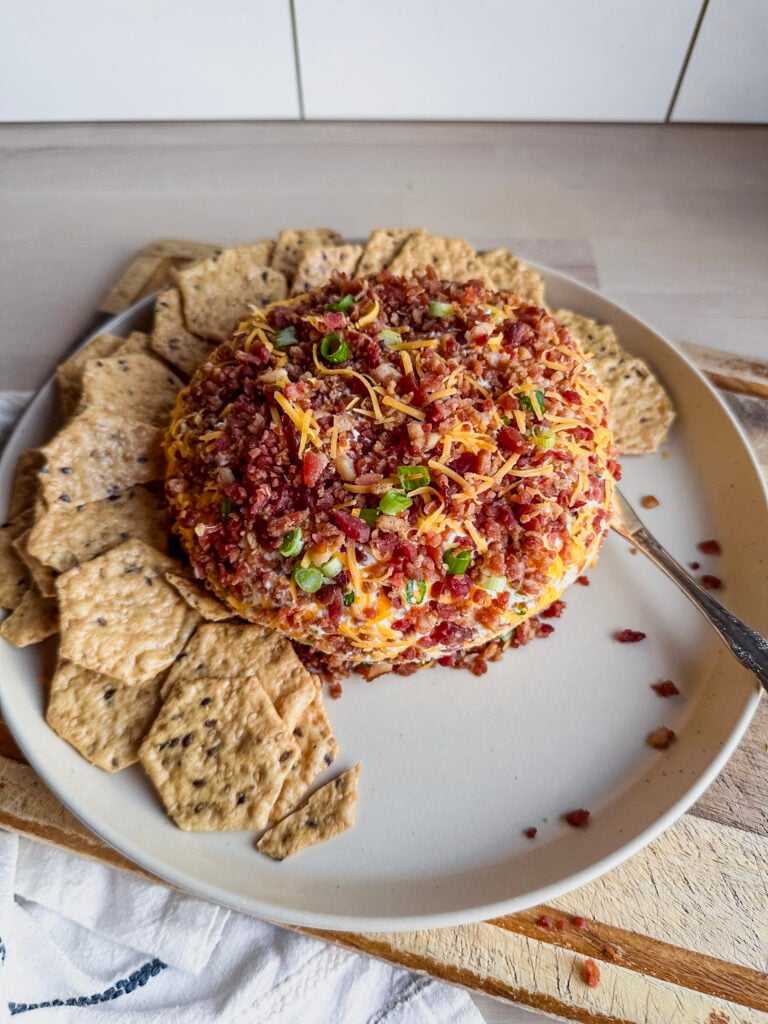
6. Add toppings, then gently press toppings into the cheese ball being sure to evenly distribute them all over. Serve with gluten free crackers and enjoy!
Recipes Tips and Notes for Cheese Ball Recipe
- Football Shape Option
- For game day, shape the mixture into a football-style shape instead of a round. Wrap tightly in plastic wrap and chill until firm. Before serving, you can score light lines across the top or add thin strips of cheese or pimento pepper strips for a laces look, a fun way to turn this into an easy football game appetizer or Super Bowl snack.
- You can substitute the bacon topping with chopped pecans, walnuts, almonds, or finely chopped fresh herbs.
This recipe makes one large cheese ball with about 16 servings.
For smaller gatherings, simply halve the recipe.
Make-Ahead Tips, Storage & Food Safety
This is one of my favorite make-ahead appetizers.
- Store the cheese ball wrapped tightly in plastic wrap or in an airtight container
- Keeps well in the refrigerator for up to 4 days
- For food safety, don’t leave it out at room temperature for more than 2 hours
- If making ahead, wait to garnish until just before serving for the best appearance
It’s perfect for the holiday season when you want something reliable and stress-free.
Gluten-Free Serving Options
If you’re serving this cheese ball to gluten-free guests, there are plenty of easy and naturally gluten-free ways to enjoy it without feeling limited.
Naturally gluten-free options:
- Celery sticks
- Carrot sticks
- Bell pepper strips
- Cucumber slices
Gluten-free cracker and chip options:
- Gluten-free buttery crackers
- Gluten-free pretzel sticks
- Certified gluten-free tortilla chips
- Gluten-free pita-style chips or crackers
Variations & Creative Ideas
This classic recipe is also a great starting point if you want to switch things up:
- Roll the outside in chopped nuts, bacon, or poppy seeds
- Make smaller cheese balls for individual serving platters
- Try flavor inspiration like a jalapeño popper cheese ball or even a dried beef cheese ball
- Use this base as inspiration for other cheesy appetizers like spinach artichoke dip
It’s a fun way to customize one great recipe for different occasions.
Allergy Notes
This recipe is naturally nut-free, making it a safe option for guests with a nut allergy. Always double-check crackers and toppings to be sure they meet your guests’ needs.
I hope you love this Cheese Ball Recipe as much as I do. If you try it, let me know in the comments below, I’d love to hear how it turned out for you!
Cheese Ball Recipe: An Easy Classic with Cream Cheese
Ingredients
Equipment
Method
- Combine: Add all of the cheese ball ingredients to the bowl of a stand mixer.2 8 ounce Cream Cheese Blocks, 8 ounces Sharp Cheddar Cheese, 1/2 cup Shredded Parmesan Cheese, 1/2 cup Mayonaise, 1/4 cup Green Onions, Pinch Fresh Cracked Black Pepper
- Alternatively, place them in a large bowl and use a hand mixer to mix until well combined.
- Cover the mixing bowl tightly with plastic wrap and refrigerate for at least 2 hours.
- Spoon the mixture onto a serving plate and use your hands to shape it into a smooth ball or into a football shape for game day.
- Add the toppings and gently press them into the cheese ball so they are evenly distributed.3 ounces Bacon Bits, 1 tablespoon Green Onions, 1 tablespoon Mild Cheddar Cheese
- Arrange crackers or other serving options around the cheese ball on the plate, enjoy!
Nutrition
Notes
Make-Ahead Tips, Storage & Food Safety
This is one of my favorite make-ahead appetizers.- Store the cheese ball wrapped tightly in plastic wrap or in an airtight container
- Keeps well in the refrigerator for up to 4 days
- For food safety, don’t leave it out at room temperature for more than 2 hours
- If making ahead, wait to garnish until just before serving for the best appearance
Gluten-Free Serving Options
If you’re serving this cheese ball to gluten-free guests, there are plenty of easy and naturally gluten-free ways to enjoy it without feeling limited. Naturally gluten-free options:- Celery sticks
- Carrot sticks
- Bell pepper strips
- Cucumber slices
- Gluten-free buttery crackers
- Gluten-free pretzel sticks
- Certified gluten-free tortilla chips
- Gluten-free pita-style chips or crackers
Variations & Creative Ideas
This classic recipe is also a great starting point if you want to switch things up:- Roll the outside in chopped nuts, bacon, or poppy seeds
- Make smaller cheese balls for individual serving platters
- Try flavor inspiration like a jalapeño popper cheese ball or even a dried beef cheese ball
- Use this base as inspiration for other cheesy appetizers like spinach artichoke dip
Tried this recipe?
Let us know how it was!Be Sure to Always Double Check Ingredient Labels
It is always best practice to double-check your ingredient labels for hidden sources of allergens.
Also, please note the nutrition information is automatically calculated and should only be used as an approximation. It may vary based on ingredient brands, portion sizes, and preparation methods. For specific dietary or medical needs, consult a healthcare professional or registered dietitian.
Pin It for Later