
Easy homemade strawberry syrup is one of those simple recipes that makes everyday meals feel extra special. Whether you’re pouring it over pancakes, spooning it over cheesecake, or stirring it into strawberry lemonade, it adds a fresh burst of berry flavor that you just can’t get from a bottle. And the best part? It comes together in less than 30 minutes with just a few basic ingredients.
This fresh strawberry syrup recipe works with seasonal strawberries or frozen berries, so you can make it any time of year. It keeps well in the refrigerator all week, and it’s naturally gluten-free with no artificial colors or preservatives. Whether you need a pourable syrup for drinks and pancakes or a thicker strawberry sauce for cheesecake and crepes, this one recipe does both.
Looking for something to pour this easy strawberry sauce over? Try my Easy Fluffy Gluten Free Pancakes orGluten Free Sourdough Discard Waffles. Or if you want more delicious dessert sauces try out my one of my top recipes for Homemade Caramel Sauce. If you want more strawberry flavor, try out my Homemade Strawberry Jam Recipe.

Please note that this post may contain affiliate links. As an Amazon Associate, I may earn commissions from qualifying purchases, at no additional cost to you. Thank you for your support!
Why You’ll Love this Simple Strawberry Syrup
What’s the Difference Between Strawberry Syrup and Strawberry Sauce?
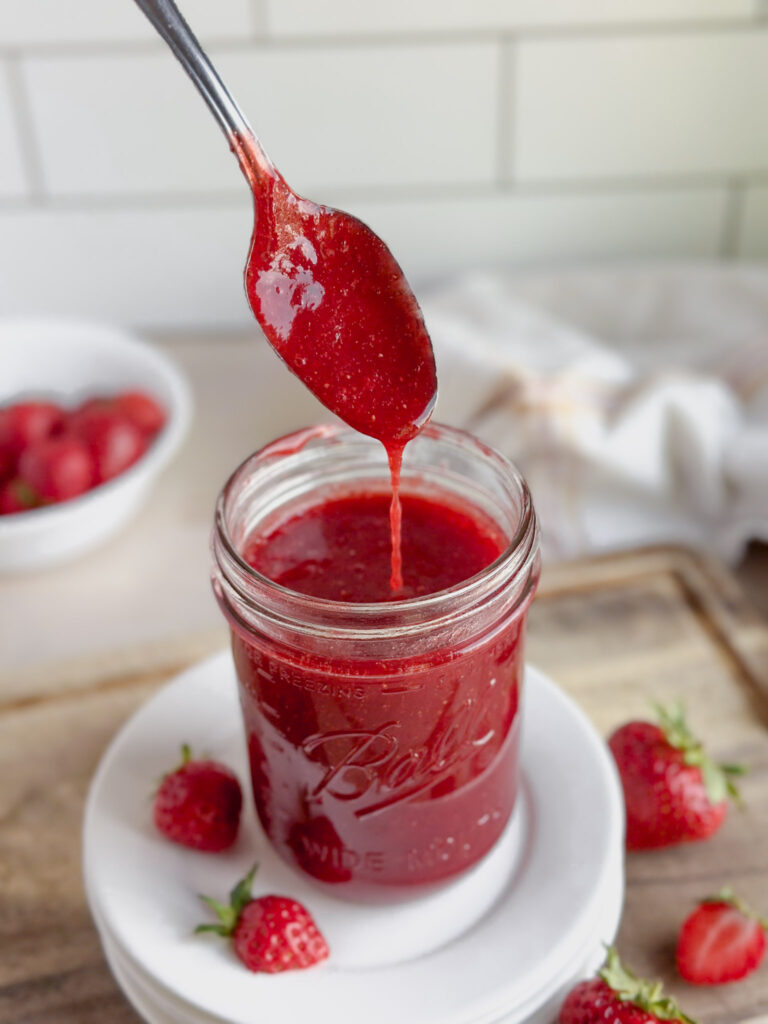
This is one of the most common questions I get, and the answer is pretty simple! Strawberry syrup is thinner and more pourable. It flows easily and is perfect for drinks like strawberry lemonade, coffee, or cocktails. It’s also great for drizzling over pancakes or french toast. Strawberry sauce is thicker, chunkier, and scoopable. It’s better for spooning over cheesecake, ice cream, or crepes.
The good news is that this recipe makes both. The base is a pourable syrup. If you want a thicker sauce, just add the optional cornstarch step at the end. Same berries, same cook time, two different results depending on what you need.
How to Make Homemade Strawberry Syrup Video
See this strawberry syrup come together step by step in the video below! I walk you through everything, from why frozen strawberries are actually a secret weapon for incredible flavor year-round, to how to get the perfect consistency whether you want a thin pourable syrup or a thick dessert sauce. It’s easier than you think!
Ingredients for Homemade Strawberry Syrup

Note:
Below are the key ingredients you’ll need. You can find the complete list with measurements in the recipe card at the bottom of the post.
Fresh Strawberries or Frozen Strawberries These are the star of the show! Fresh strawberries give a bright, vibrant flavor, especially when you can get your hands on sweet seasonal strawberries at peak ripeness. Frozen berries work beautifully too and are available year-round. Either one will give you a gorgeous, deeply flavored sauce.
Sugar Granulated white sugar works perfectly here. Strawberry sweetness can vary quite a bit depending on the berries you use. Start with less and taste as you go. You can always stir in a little more at the end. If you’d like to use maple syrup or honey as a substitute, see the FAQ section below.
Fresh Lemon Juice Fresh lemon juice is best here, though bottled lemon juice works in a pinch. It brightens the strawberry flavor and balances the sweetness. It also helps preserve the syrup. Don’t skip it. It makes a noticeable difference in how the finished sauce tastes.
Vanilla Extract or Vanilla Bean Paste This is technically optional, but I really recommend it. Vanilla rounds out the flavor and makes the syrup taste more like something from a nice restaurant than something out of a bottle. I personally use vanilla bean paste for those beautiful little flecks, but pure vanilla extract is wonderful too.
Cornstarch and Water (Optional) This is only needed if you want a thicker strawberry sauce rather than a pourable syrup.
How to Make Homemade Strawberry Syrup (Step-by-Step)
Here are some quick visual instructions. Remember that full instructions with exact ingredients will be in the recipe card below!
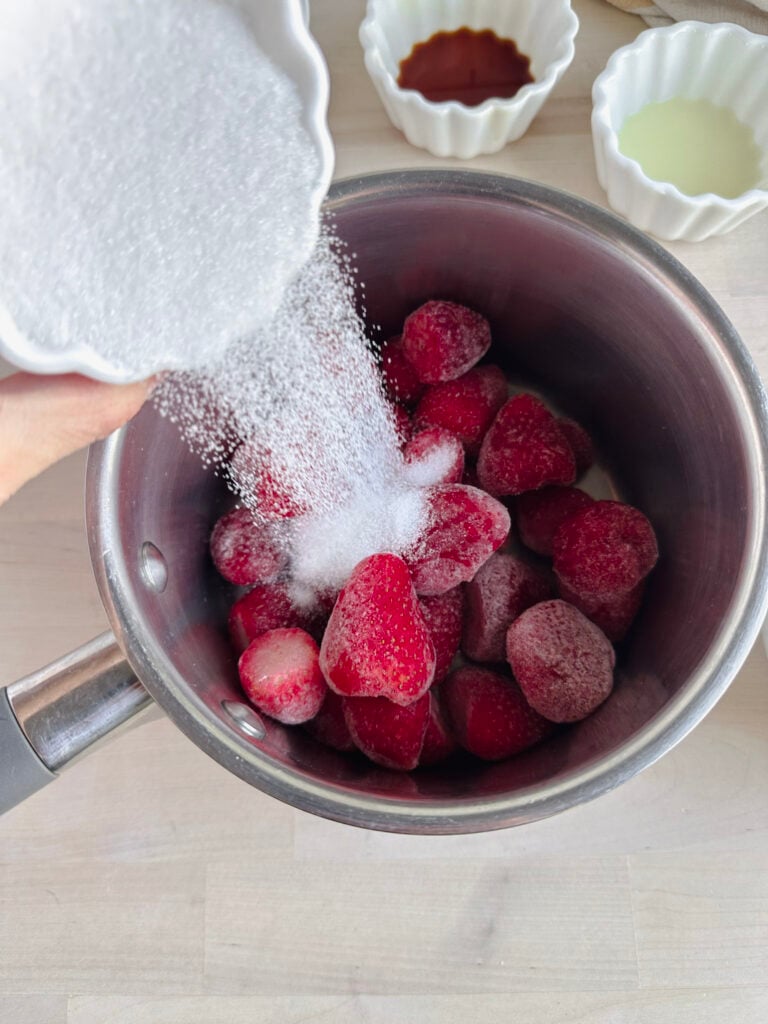
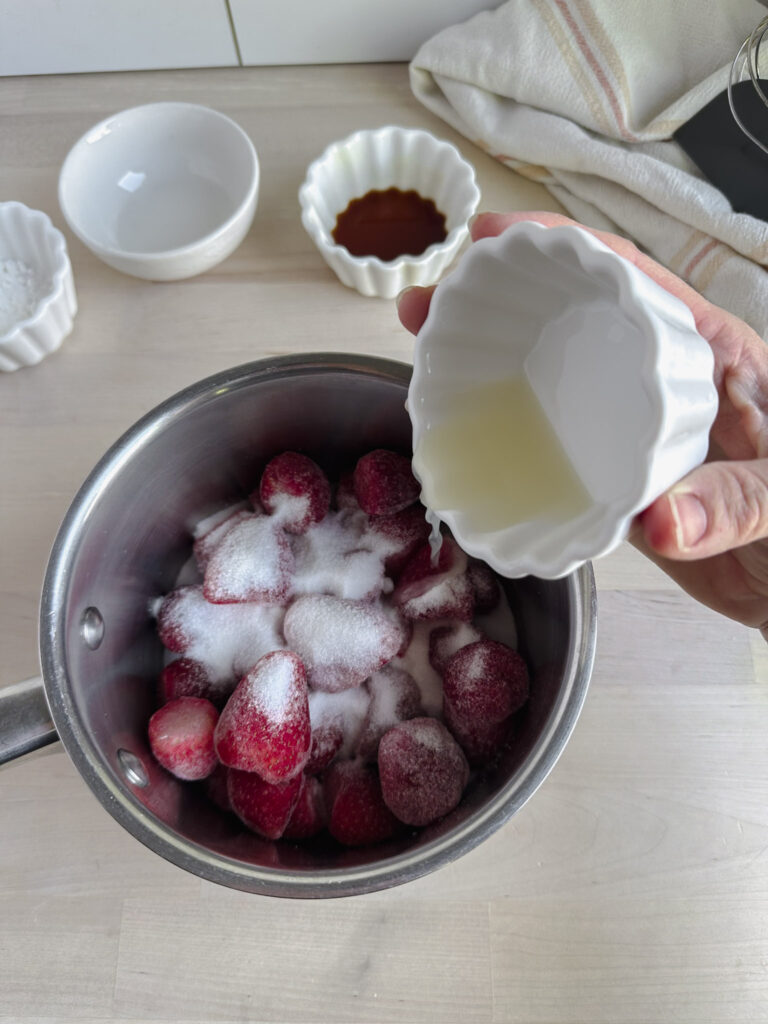
Step 1: Add Strawberries, Sugar, and Lemon Juice to a Saucepan
Combine your fresh or frozen strawberries, sugar, and fresh lemon juice in a medium saucepan. No need to thaw frozen berries. They’ll release their juices as they heat up.
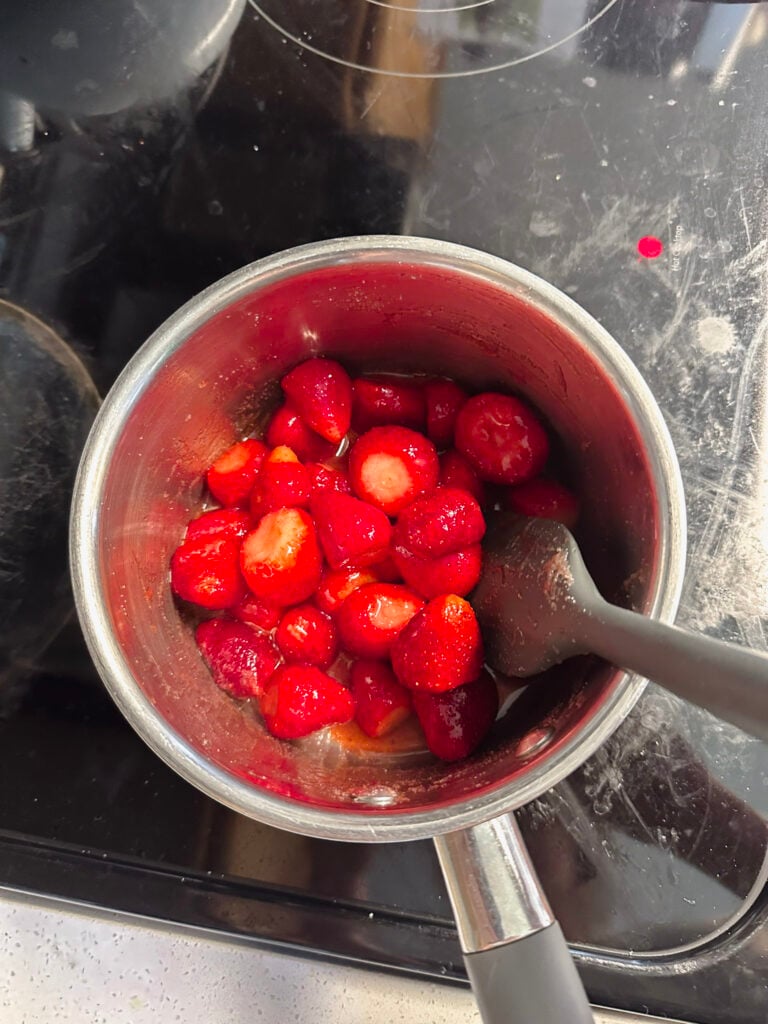
Step 2: Bring to a Boil, Then Reduce to a Simmer
Place the saucepan over medium-high heat and bring the strawberry mixture to a boil, stirring occasionally. Once it reaches a boil, reduce the heat to medium and let it settle into a steady simmer. If you started with frozen berries, you’ll notice them releasing a lot of liquid first. That’s totally normal, keep going!
Step 3: Simmer for 8 to 12 Minutes
Let the strawberry mixture simmer, stirring occasionally, until: – The berries have broken down – The sauce looks slightly thickened and glossy – The juices have reduced and deepened in color
The sauce doesn’t need to be super thick at this stage. It will continue to thicken as it cools.
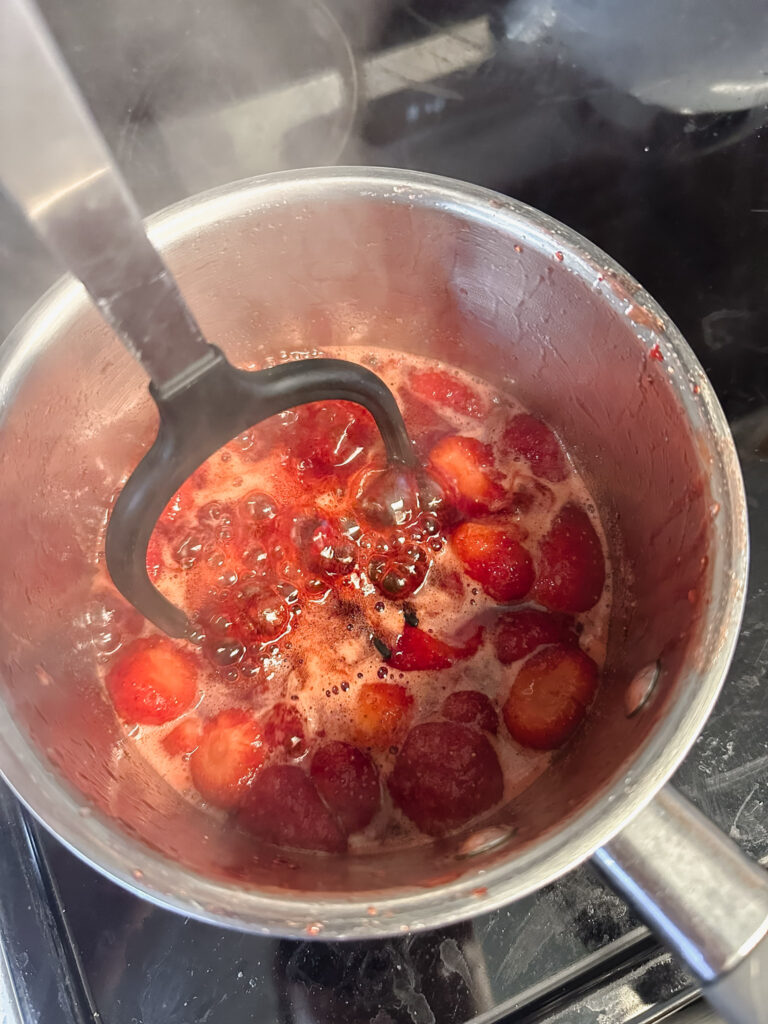
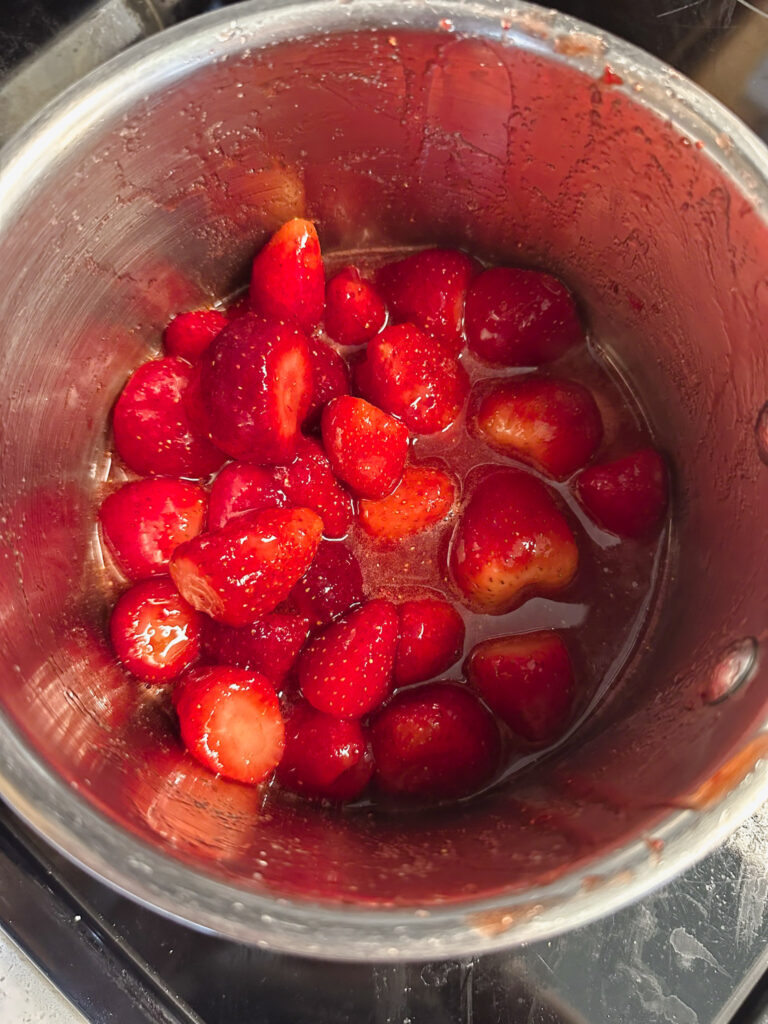
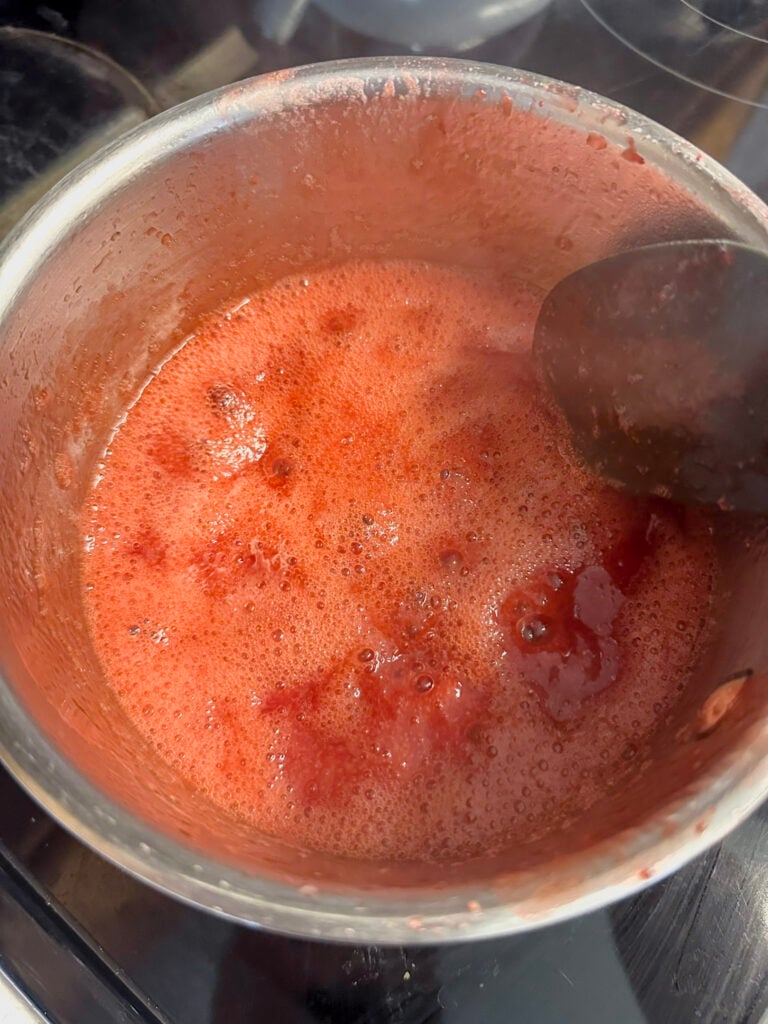
Step 4: Mash the Berries
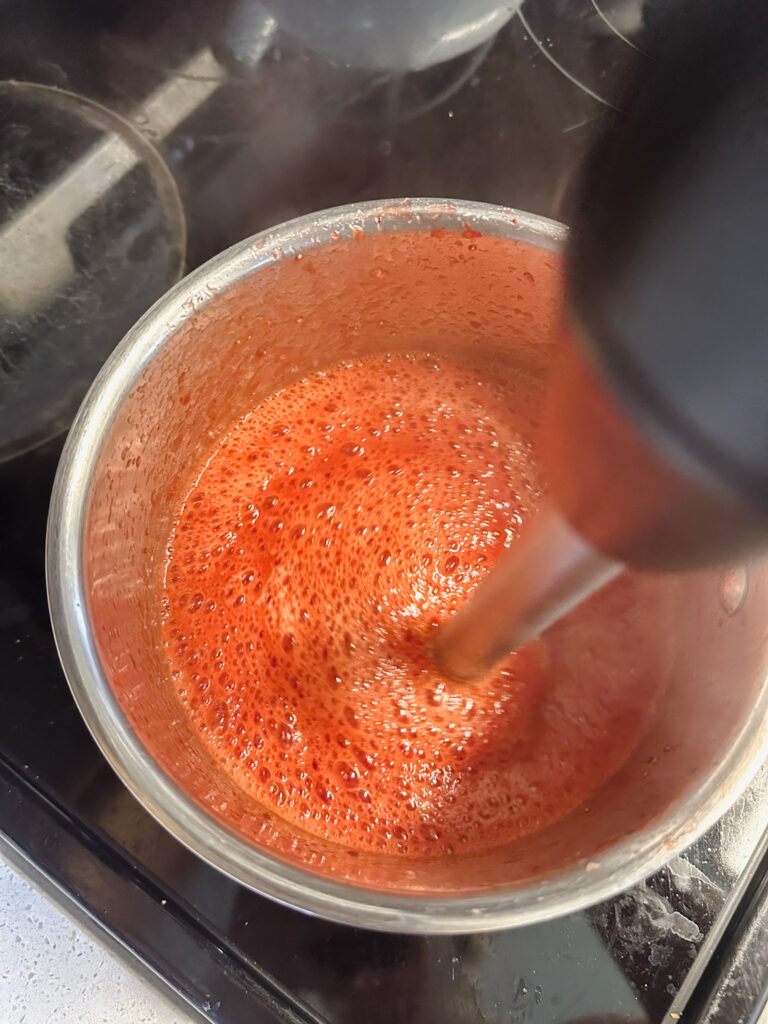
Use a fork, spoon, or potato masher to break down the berries to your preferred texture. I like to leave some small chunks. It gives the sauce a more homemade feel and looks beautiful over cheesecake. If you want a completely smooth syrup, use an immersion blender or a traditional upright blender.
Optional: How to Make a Thicker Strawberry Sauce
If you need a thicker sauce for cheesecake, crepes, french toast, or ice cream, here’s how to do it after completing the steps above:
- Return the finished syrup to the saucepan over medium-low heat.
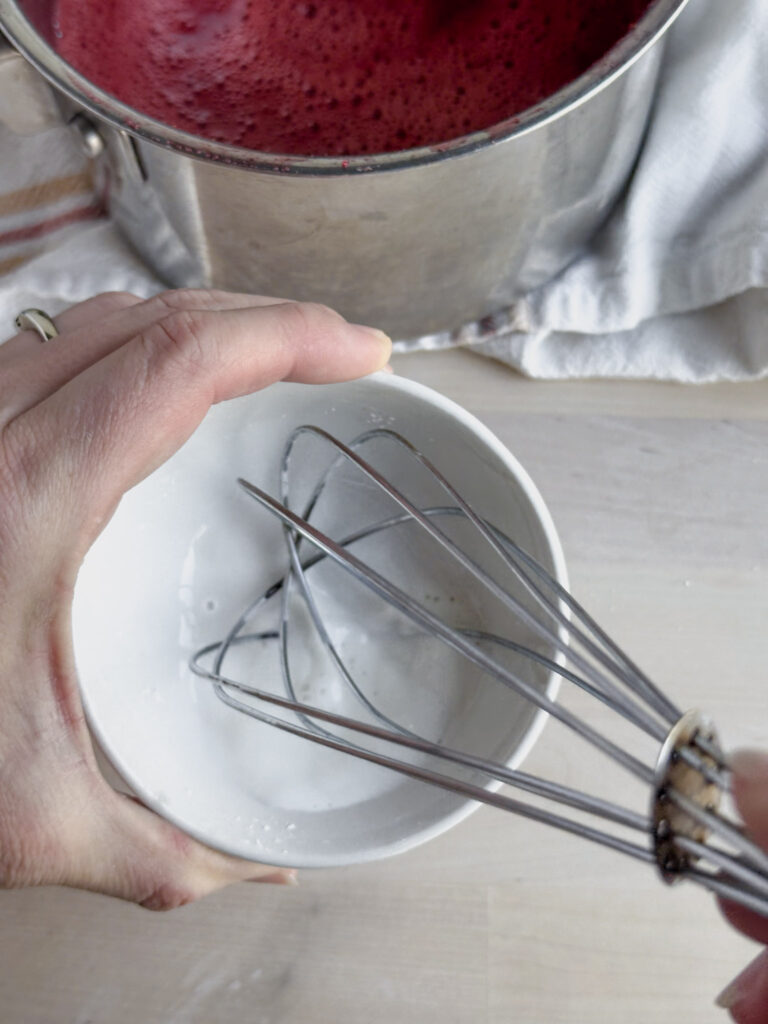
- In a small bowl, whisk together 1 teaspoon cornstarch and 1 tablespoon water until completely smooth.
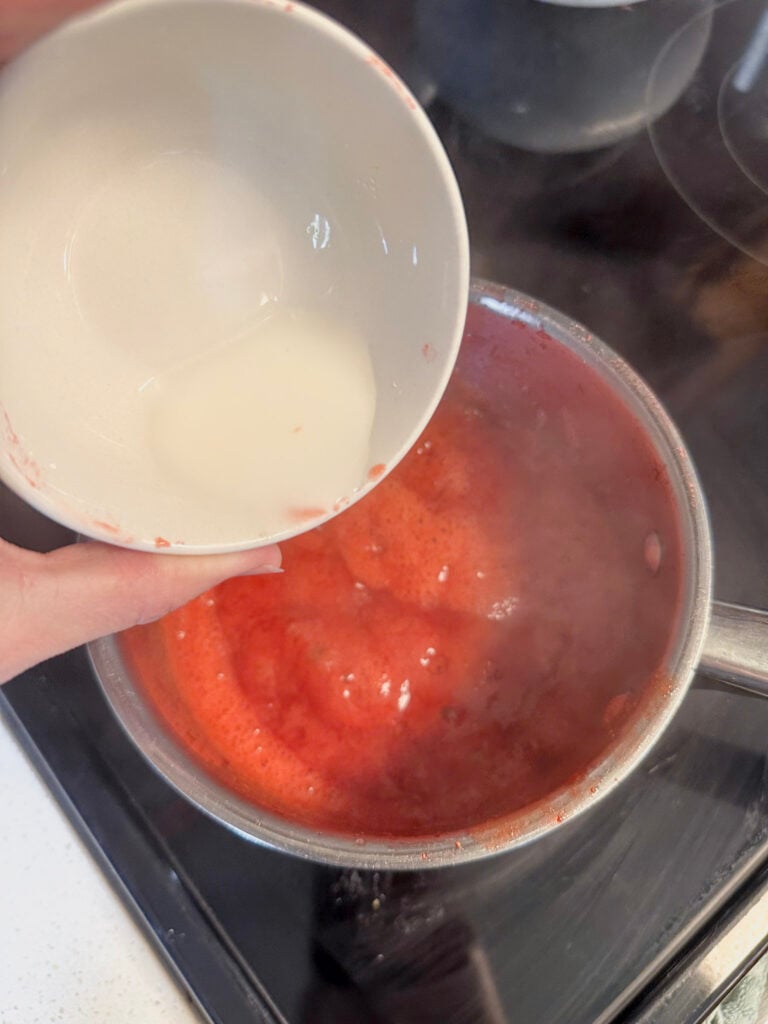
- Pour the cornstarch slurry into the warm strawberry mixture while stirring continuously.
- Simmer for 1 to 2 minutes, stirring, until the sauce thickens and turns glossy.
- Remove from heat. The sauce will thicken a little more as it cools.
Important: Always mix the cornstarch and water together in a separate bowl first. Adding dry cornstarch directly to the pan causes lumps. And use exactly 1 teaspoon. More than that and the sauce gets gluey instead of glossy.
Step 5: Remove from Heat and Stir in Vanilla
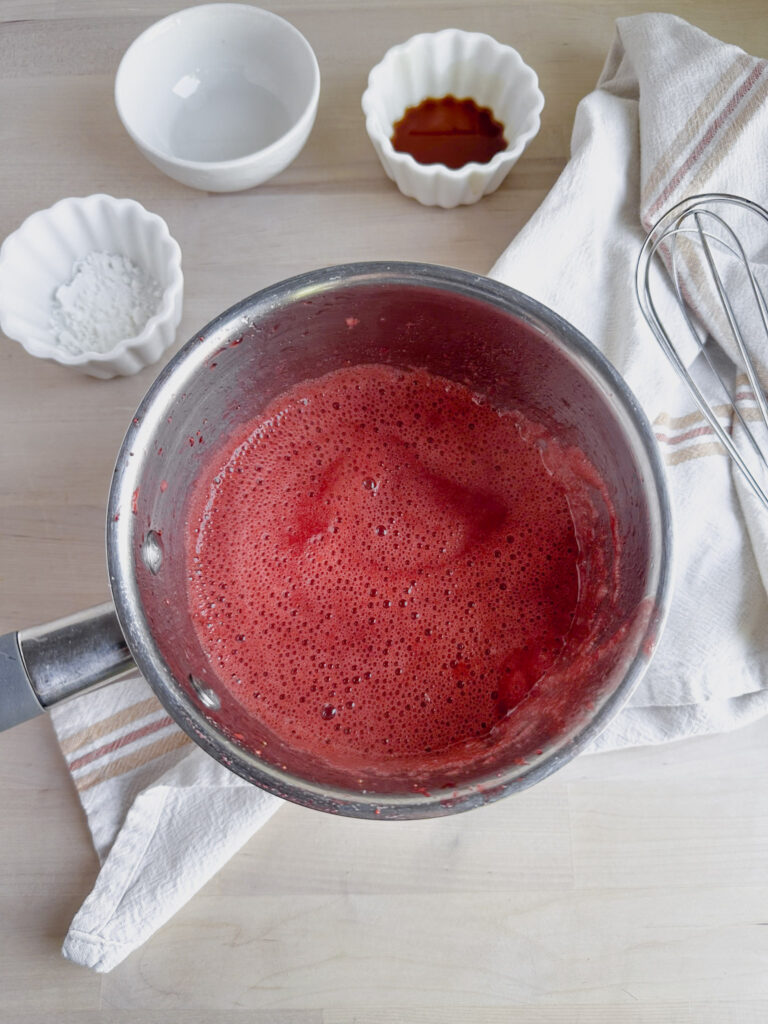
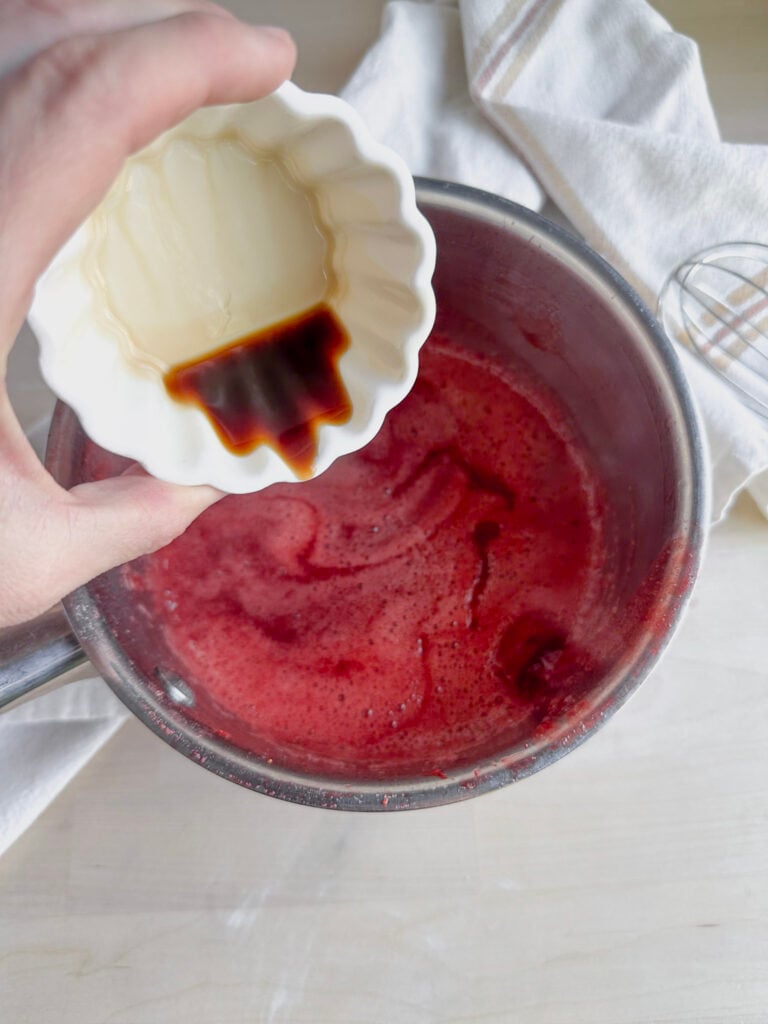
Take the saucepan off the heat and stir in your vanilla. Adding it after the boil preserves the flavor. Vanilla can taste flat if it cooks too long.
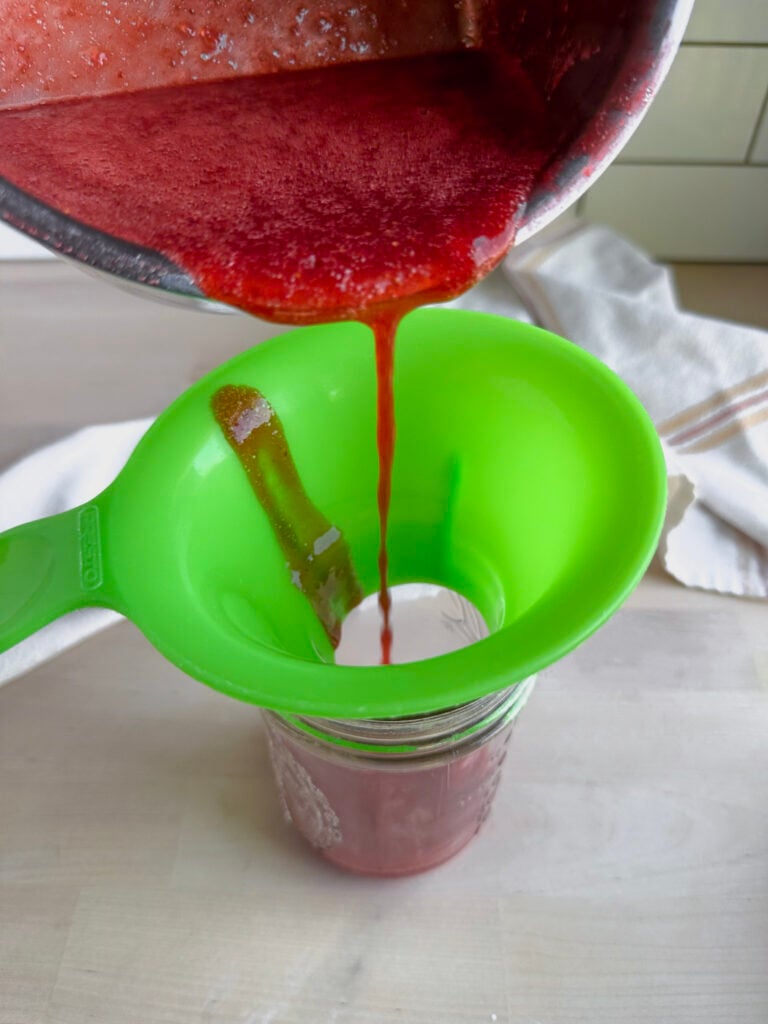
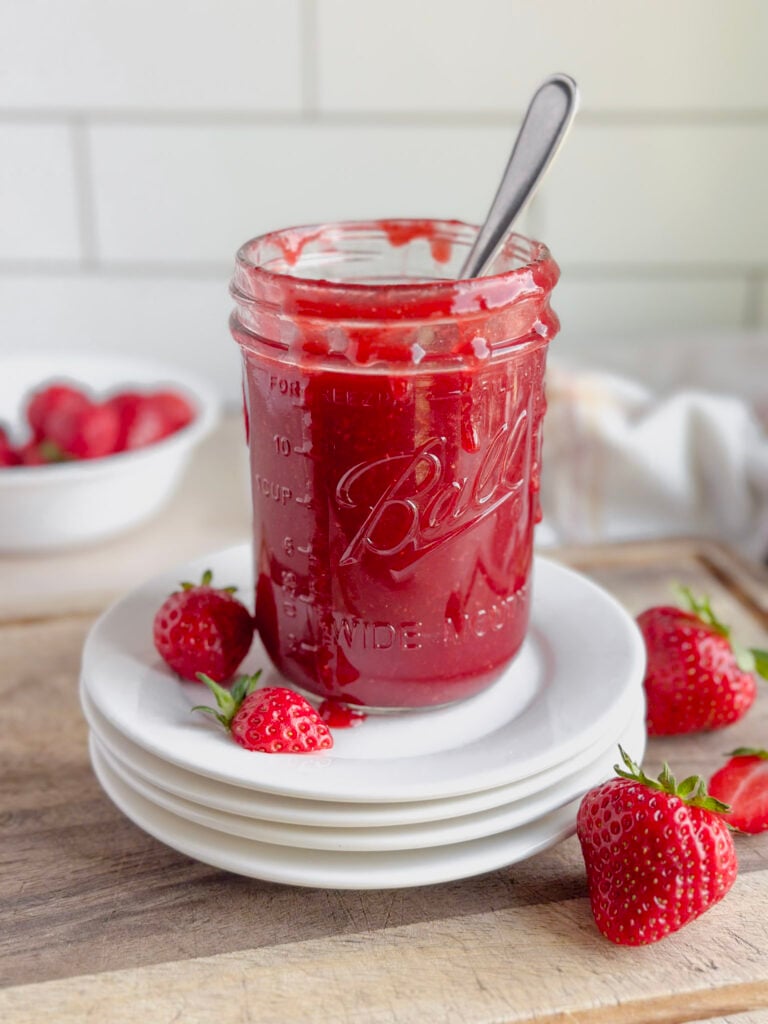
At this point, you have a delicious pourable strawberry syrup! If that’s what you need, you’re done. Let it cool slightly and serve warm, or cool completely before transferring to a mason jar or airtight container for storage.
Frozen berries release more liquid. If you use frozen strawberries, expect more liquid in the pan at first. Just let it simmer a few extra minutes to reduce. The flavor concentrates beautifully.
Tips, Notes, and Common Syrup-Making Mistakes to Avoid
Don’t skip the lemon juice. It’s not just for flavor. The acidity helps balance the sweetness and extends the shelf life of your syrup in the refrigerator.
Add vanilla off the heat. If you stir it in while the sauce is still actively boiling, the flavor can cook off. Pull the pan off the burner first, then stir it in.
Taste and adjust sweetness before storing. Strawberry sweetness varies a lot. Seasonal strawberries at their peak are much sweeter than out-of-season fresh berries or frozen ones. Taste the sauce while it’s still warm and stir in more sugar if needed, one tablespoon at a time.
Don’t over-thicken with cornstarch. This is the most common syrup-making mistake. Stick to 1 teaspoon and not more. Too much cornstarch creates a gluey, almost jam-like texture that doesn’t pour or drizzle well.
For a smooth syrup: Run it through a fine mesh strainer or blend it with an immersion blender.
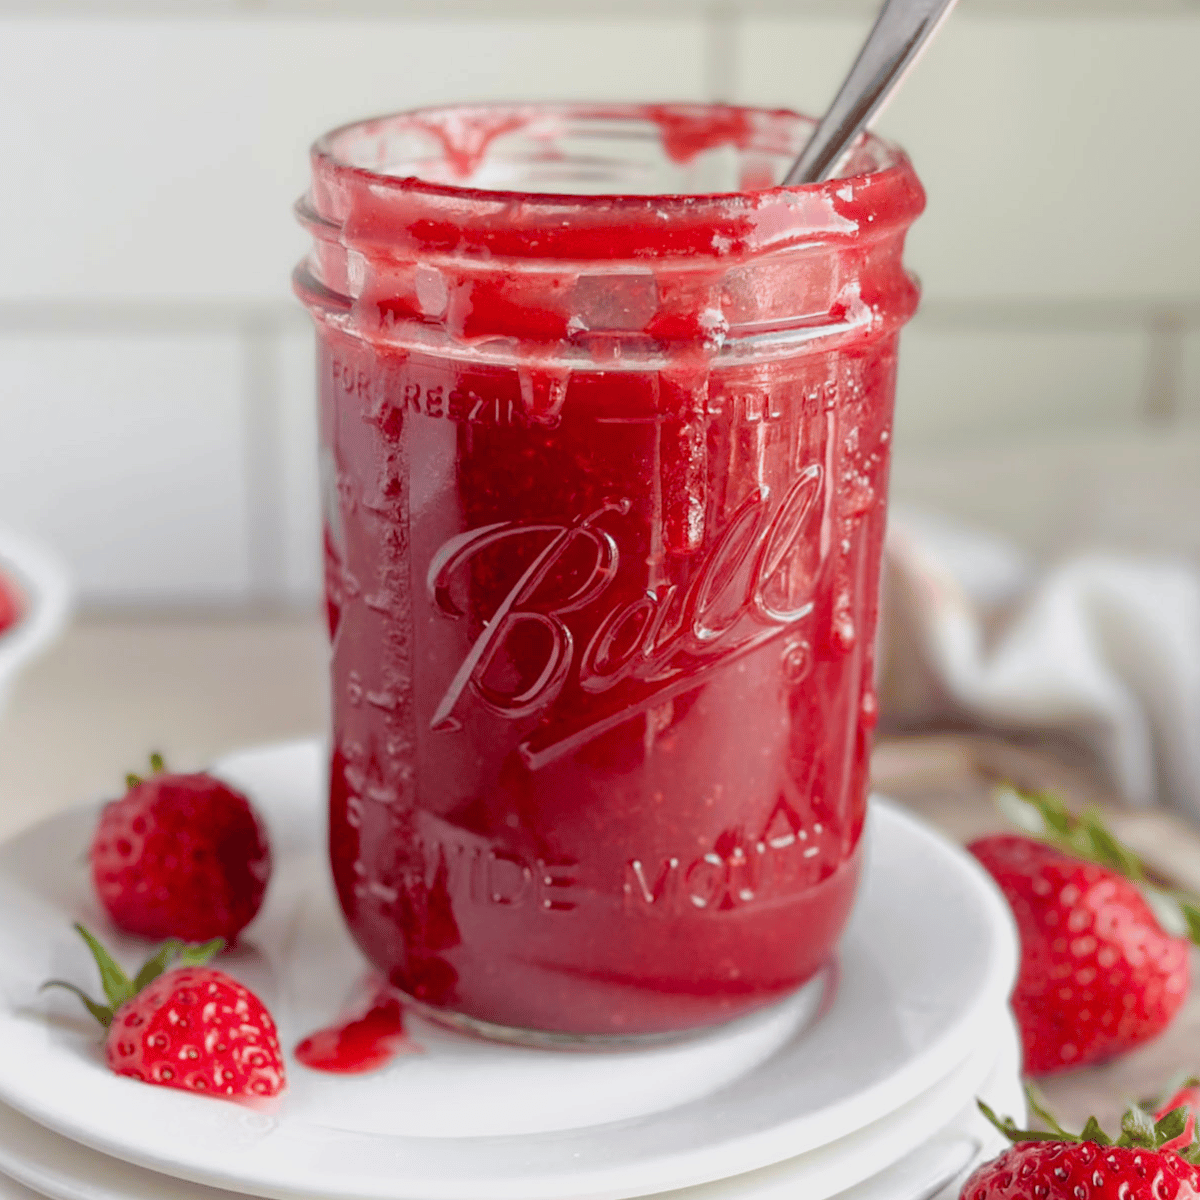
For a chunkier sauce: Mash lightly with a fork, leaving visible strawberry pieces. This is especially beautiful spooned over cheesecake or shortcake.
How to Store Homemade Strawberry Syrup
Once your syrup has cooled completely, transfer it to a mason jar, glass bottle, or airtight container with a lid.
Refrigerator: Homemade strawberry syrup needs to be refrigerated. Store it for up to 1 week. Unlike commercial syrups, it doesn’t contain stabilizers or preservatives, so it won’t keep at room temperature.
Can homemade syrup be left out? It’s fine to leave it on the table while you’re eating, but for storage it always needs to go back in the refrigerator. Bacteria can grow in homemade syrups left at room temperature for extended periods.
Freezer: This syrup freezes well for up to 3 months. Pour it into a freezer-safe container or into ice cube trays for easy portioning. Thaw overnight in the refrigerator or warm gently in a saucepan on the stovetop.
How to tell if strawberry syrup has gone bad: If you see mold, notice an off smell, or the texture looks unusual, discard it and make a fresh batch. When in doubt, throw it out.
The sauce will thicken in the refrigerator. Just stir it and let it come to room temperature, or warm it briefly in the microwave or on the stovetop before serving.
Ways to Use Strawberry Syrup
Once you make this, you’ll start putting it on everything. Here are some of our favorites:
- Poured over gluten-free pancakes or waffles
- Spooned generously over cheesecake
- Drizzled over vanilla ice cream
- Stirred into lemonade to make strawberry lemonade (just add a few tablespoons to fresh lemonade and stir)
- Used as a filling for crepes
- Drizzled over french toast
- Swirled into yogurt or oatmeal
- Layered into parfaits
- Added to drinks for a fresh strawberry flavor
- Stirred into coffee or iced drinks for a homemade strawberry flavor
- Poured over pound cake or angel food cake
Tools for This Recipe
- Mason jar, glass bottle, or airtight container for storage
- Medium saucepan
- Wooden spoon or silicone spatula
- Potato masher or fork
- Fine mesh strainer (for a smooth syrup)
- Blender or immersion blender (optional, for a completely smooth sauce)
- Kitchen scale (highly recommended for accurate measurements)
Frequently Asked Questions
Yes! Homemade strawberry syrup should always be stored in the refrigerator. Unlike store-bought syrups, it doesn’t have preservatives to keep it shelf-stable. Refrigerate it in an airtight container or mason jar for up to 1 week.
Yes! Let it cool completely, then pour it into a freezer-safe container or ice cube trays. It keeps well for up to 3 months in the freezer. Thaw in the refrigerator overnight or warm gently on the stovetop.
Strawberry syrup is thin and pourable. It’s great for drinks, pancakes, and coffee. Strawberry sauce is thicker and scoopable and is better for topping cheesecake, ice cream, or crepes.
This recipe makes both depending on whether you use the optional cornstarch step.
Absolutely! Frozen strawberries work just as well as fresh in this recipe. They release more liquid as they cook, so just let the sauce simmer a few extra minutes. No need to thaw them first.
Yes! All the ingredients in this recipe are naturally gluten-free. If you have Celiac disease, double-check labels on your cornstarch and vanilla extract to confirm they are certified gluten-free, as cross-contamination can occur during processing.
I hope you love this Homemade Strawberry Syrup as much as I do. If you try it, let me know in the comments below, I’d love to hear how it turned out for you! And if you want more strawberry recipes, check out my Easy Strawberry Jam Recipe
Easy Homemade Strawberry Syrup
Ingredients
Equipment
Method
- Add the 400 grams Strawberries, 80 grams Sugar and 15 grams Lemon juice to a medium sized saucepan over medium heat on the stove top.
- Simmer for 8-12 minutes, stirring occasionally. Frozen berries will release more liquid at first, and that is ok.
- As the strawberries cook you're looking for the strawberries to start breaking down, the sauce to slightly thicken and for it to have a glossy appearance.
- When the strawberries are softened and have released some juice, mash them lightly with a fork or potato masher.
- Since strawberries can vary in sweetness depending on when they are harvested, taste test the strawberry sauce to ensure it is sweet enough to your taste. Do this by dipping a spoon into the hot sauce and letting it cool before tasting it.
- Add additional sugar in 1-2 tablespoon amounts at a time until you reach the desired level of sweetness, stirring in after each addition.
- How smooth you make it is your choice and depends on your desired outcome. If you want a chunkier sauce, continue on with the rest of the recipe.
- But if you want a very smooth strawberry syrup, use an immersion blender to blend the sauce or carefully process the hot syrup in a blender.
- Continue simmering the strawberry sauce over medium heat for about 2 more minutes.
- If you want a thicker sauce, you can do that now. In a small jar or bowl, mix together the 3 grams Cornstarch and 15 grams Water with a whisk or fork till there are no lumps.
- Add the cornstarch slurry to the strawberry sauce and whisk well, continuing to simmer for about 2 more minutes.
- Then remove the strawberry sauce from the heat and let it cool slightly.
- Stir in 1 teaspoon Vanilla extract, or vanilla bean paste till well combined. Adding it off the heat preserves the best flavor.
- Then serve warm right away or allow it to cool completely before transferring to a mason jar or airtight container. Store in the refrigerator for up to one week.
Nutrition
Video
Notes
Tried this recipe?
Let us know how it was!Be Sure to Always Double Check Ingredient Labels
It is always best practice to double-check your ingredient labels for hidden sources of allergens.
Also, please note the nutrition information is automatically calculated and should only be used as an approximation. It may vary based on ingredient brands, portion sizes, and preparation methods. For specific dietary or medical needs, consult a healthcare professional or registered dietitian.
Pin It for Later


This is so tasty!!! Just curious if you’ve ever tried freezing it?
Hi Emily, I’m so glad you enjoyed the strawberry syrup! I actually haven’t tried freezing it but I think it would do well. Let me know if you try it!