
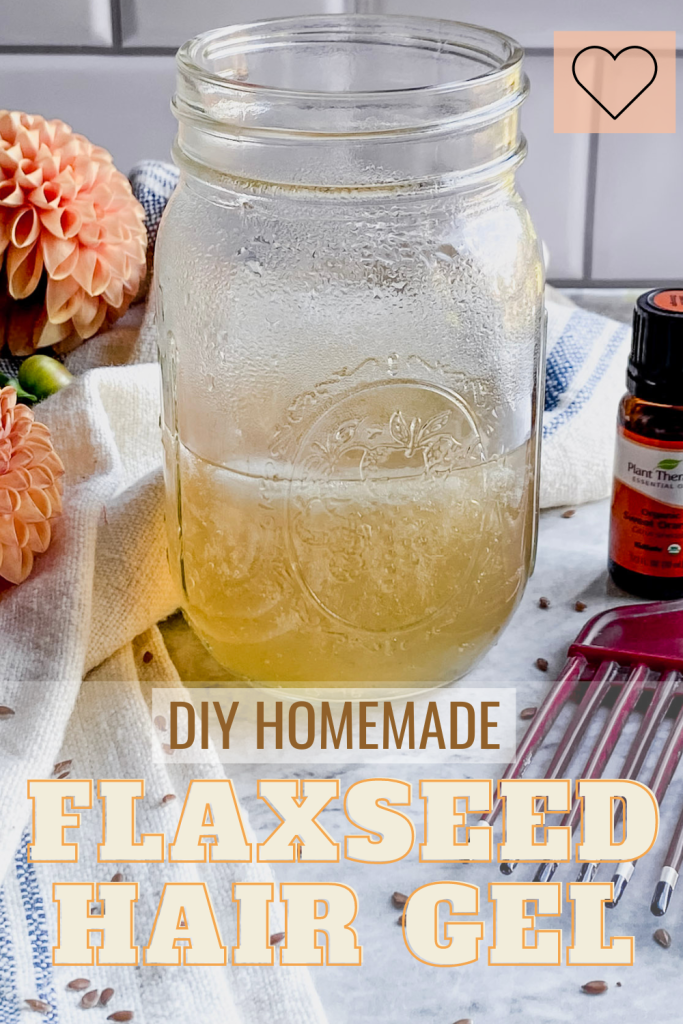
How to Make Homemade Flaxseed Hair Gel Easily
As a hairstylist of about 15 years, I’ve seen firsthand how tricky it can be to find a hair gel that works well for curly hair, that doesn’t leave a heavy buildup of silicones and waxes. Personally, I also like to avoid artificial fragrances that are in most conventional hair gels, but natural hair products don’t always have a strong enough hold to work well for curly hair.
Thankfully you don’t have to sacrifice effectiveness or health for great hair. This DIY flaxseed hair gel seals the hair’s cuticle, locks in moisture, boosts curl bounce, and helps to enhance shine. Plus, it’s naturally flake-resistant and water-soluble, which eliminates build-up.
I’m excited to show you how to make your flaxseed hair gel at home—with simple ingredients. I first shared this recipe back in 2021, but more recently TikTok- Make Your Day, has made the idea of using flaxseed hair gel more popular.
Please note that this post contains affiliate links and I may possibly earn a commission on qualifying purchases at no extra cost to you. I am an Amazon associate.
What Is Flaxseed?
Flaxseed (also known as flax) is a crop grown to be used as both fiber and a food source. There are many health benefits to ingesting flaxseed as it is high in omega-3 fatty acids, antioxidants, and several vitamins.
Why Use Flaxseed Hair Gel?
You may wonder why you would want to make and use flaxseed hair gel when there are plenty of hair care products in every store.
There are several reasons to make your own flaxseed hair gel to gain the benefits of flaxseed:
- Inexpensive: the cost to make this homemade hair gel is pennies compared to store-bought gels
- Less waste: If taking care of the earth is important to you, by making your own hair care products you are eliminating the waste of excess packaging and transportation of regular hair gel.
- Control of ingredients: I love being able to have control over what ingredients I put in and on my body, and the list of ingredients for this homemade recipe are all ones I am happy to use.
Suggested Shopping
These items are small investments into having great hair.
Bob’s Red Mill Resealable Organic Whole Golden Flaxseed: If you don’t happen to have flaxseeds at home already, you can grab these off Amazon.
Wet Brush Original Detangler Hair Brush: Curly hair always seems to come with tangles. I like using a need wet hair brush to comb out my hair while in the shower. (You can see more tips down below.)
Silk Pillowcase: A silk pillowcase helps to keep hair smooth and frizz free after a good night’s sleep. Traditional pillowcases tend to cause static and break up the curl pattern.
What You Need to Make Homemade Flax Hair Gel
Equipment Needed:
- Pint sized glass jar, with lid. (Mason Jar)
- Medium sized saucepan
- Measuring cup
- 2 cup Liquid Measuring Cup
- Fine Mesh Strainer
- Spatula
- Small glass or metal mixing bowl
- Funnel (optional)
What Ingredients are Needed to Make DIY Flaxseed Hair Gel or Hair Mask
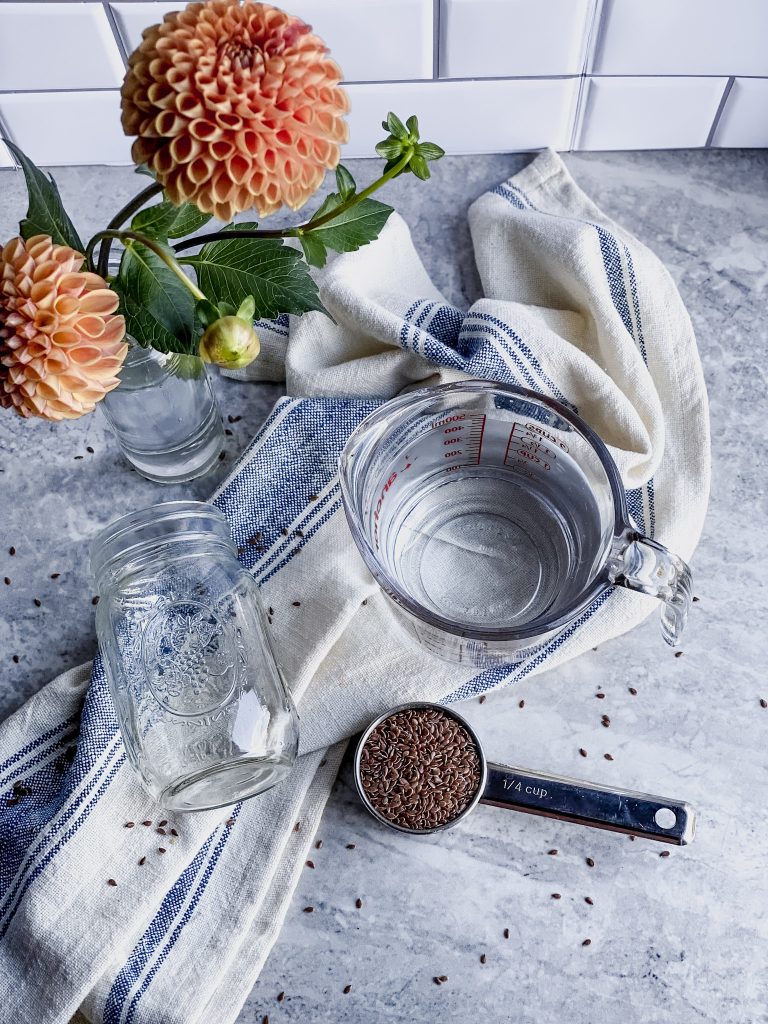
- 1/4 cup whole flaxseeds, are the main ingredient. They can be either brown or golden.
- 2 cups of water divided 1 cup and 1 cup
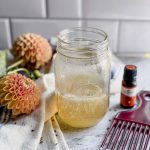
- 5 drops Citrus Essential Oils (any citrus can be used as a natural preservatives)

How to Make Your Own Flaxseed Gel
This is really a simple recipe and can be adjusted to the needs of different hair types.
- Take 1 cup of water and 1/4 cup of flaxseeds and pour into a medium saucepan.
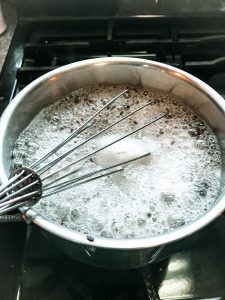
- Stir the boiling water and flaxseeds often as it becomes foamy. Watch the saucepan carefully, so it doesn’t overflow. Adjust heat as needed.
- Boil the mixture, stirring often for 2 minutes.
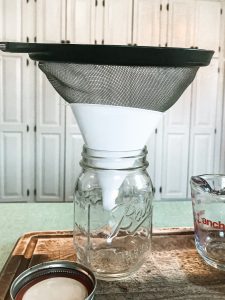
- Then strain with a mesh strainer either directly into the mason jar if you have a funnel. Or strain into a mixing bowl, removing the flax seeds.
- If your strainer has larger holes, you can place a tea towel over the strainer or run the hair gel through a cheesecloth to remove the flaxseeds.
- Now repeat the process with the additional 1 cup of water and return the same flax seeds to the water.
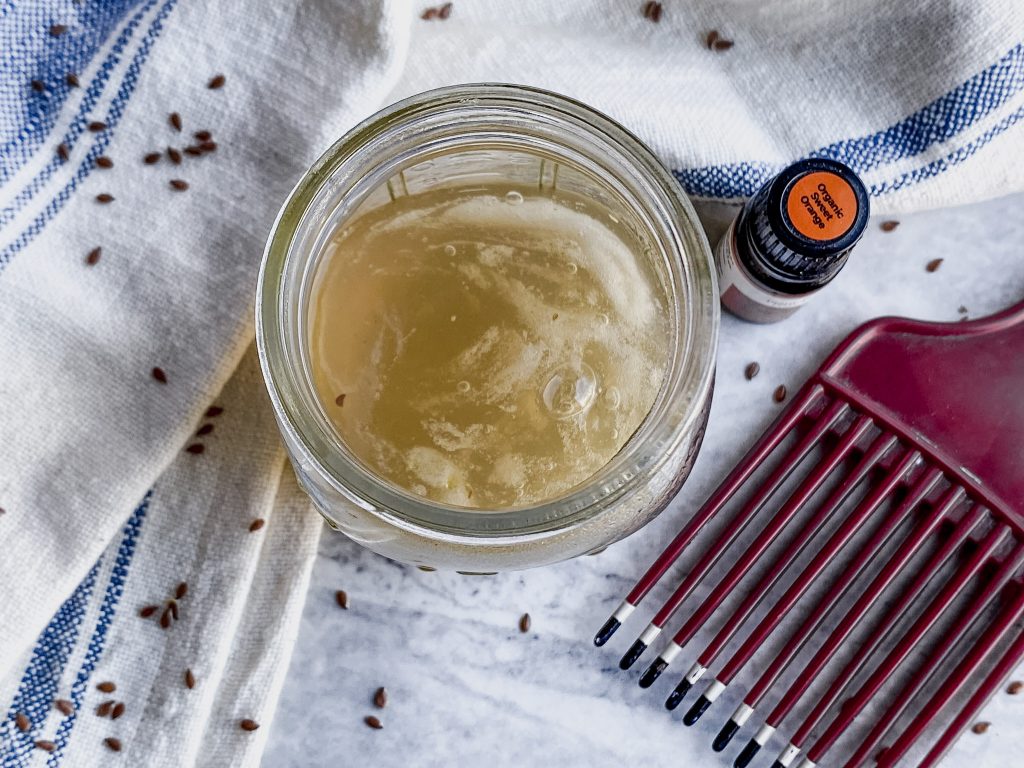
- Bring to a foamy boil again, this time for 3 minutes. Stir often till it is a gel-like consistency.
- Strain the gel into the jar or bowl again.
- Immediately rinse out saucepan. (Otherwise, it is very hard to clean if you wait.)
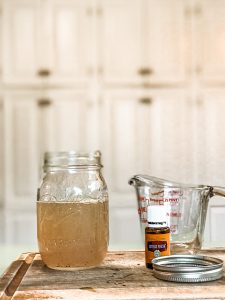
- If you used a bowl to catch the gel from being strained, pour it into the liquid measuring cup to easily pour it into the mason jar for storage.
- Add 5 drops of essential oil to help preserve the gel. I use any kind of citrus essential oils for the natural citric acid. You can also add additional essential oils for fragrance.
- When stored in the refrigerator, shelf life is about 2-3 weeks.
Notes and Tips:
- If you would like to make a thicker gel consistency, simply boil the flaxseeds longer to reduce the amount of water.
- Storage of the flaxseed hair gel is best in the refrigerator, and it should last between 2-3 weeks. After that, it starts getting a little smelly and then I make a fresh batch.
- If you do have some left that is bad, DO NOT POUR IT DOWN THE DRAIN. Take it to an outside garbage can and dispose of it there. It can clog your drain. (And I say to take it outside because otherwise, it will stink up your house.)
- The hair gel does have a slippery, slimy feel which may take some getting used to. But it really is super simple to make and is worth the adjustment to me. It’s quick, inexpensive and removes unnecessary toxins from your daily routine.
- This amount works well for me with thick, medium-long hair but play around with ratios of flaxseed, water, and even the cook time if you feel you go through it faster than 2 weeks.
- If you have shorter, fine hair, you could possibly stop after the first cup of water is turned into a gel as you may not need as much.
Some Additional Ingredients To Try To Customize This Recipe For Your Own Hair Gel
This recipe is really a simple formula that has been successful for many people. But if you would like to try to add some additional ingredients for added benefits you could try a little aloe vera gel, tea tree essential oil or vitamin E oil. I would just stir them into the flaxseed mixture once it has been strained.
Some Curly Girl Tips on How To Use This Homemade Flaxseed Hair Gel
I loosely use the Curly Girl Method. I won’t go into great detail about it, but I’ll give some highlights on it. This DIY flax seed gel is best for curly/ wavy hair but can be used on straight hair
as well.

How To Prepare Hair To Use Flax Seed Hair Gel
- When washing my hair, I start by shampooing as usual, keeping my head upright. When it’s time to condition, I flip my head upside down and use a wet brush to evenly distribute the conditioner through the lengths of my hair. Conditioning in this position helps lift the hair at the roots, promoting volume at the crown by counteracting the usual downward pull of gravity.
- I then rinse about 30% of the conditioner out in COLD water. As cold as I can stand. This helps lay the cuticle down, making it appear smooth and not frizzy.
- Sometimes I’ll get out of the shower and just lean over the tub to rinse from the faucet. (Heat opens the hair cuticle, making it appear frizzy.) It’s not often that I want to go through shock therapy of a hot shower and then rinse off with cold water, although it does have overall health benefits!
- I wring out excess water with an old t-shirt instead of a towel, as towels can cause frizz in curly hair by roughing up the cuticle, which is the outermost layer of each hair strand.
- Keep the hair wet but not dripping.
- Once your hair is no longer dripping, remove a small amount of flaxseed hair gel on to your hands, and work it into the lengths and top sections, applying more flaxseed hair gel as needed.
- It will feel slimy, but the results are worth it.
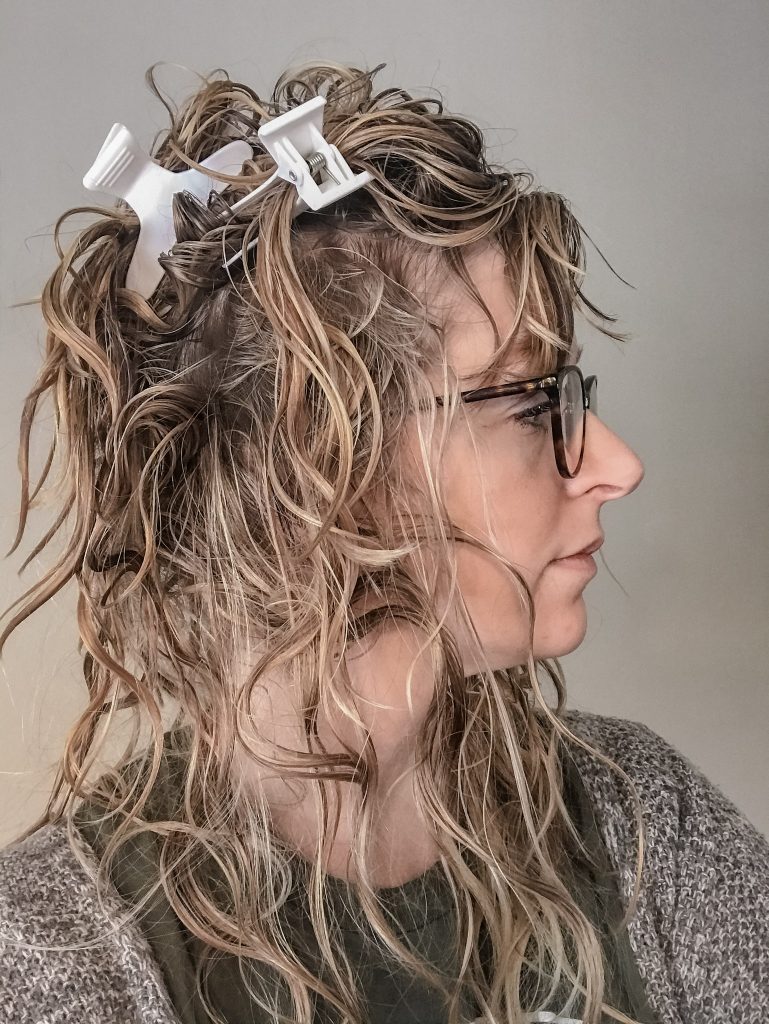
- Use your hands to scrunch up your hair, “flop it” or plop it, or use hair clips to place the hair up on top of your head to air dry.
- I start with my hair “flopped” on to an old t-shirt. About 30-60 minutes later, I take it off and shake my hair out. Then I apply some more gel to the lengths of my hair. Next, I take 3 hair clips and use them to lift my layers up. One on each side and one at the top of my crown area. This helps set the top layers for volume while the bottom stays long for length.

It doesn’t get crunchy when it dries for me. If it does for you, just scrunch it gently to break up the product a bit.
Go about your business while it dries. If you need to make it dry faster, you can use a diffuser on the “cool” setting.

That’s it! Let nature take its course to finish drying your hair.

I didn’t have any curl to my hair till I started having children. It’s a journey to learn how to work with each individual person as hair is so unique.
If you are just starting out with the CGM, I would suggest getting a hair cut to remove any dead ends. Split ends make the overall look frizzy, no matter how much gel you use. Start out with some long layers to get volume. I actually have some fairly short layers, but I have a ton of hair so it works. Your stylist should be able to guide you on what is best for your specific length and density.

To Use Flaxseed Gel as an Easy DIY Hair Treatment Recipe:
- Prepare the Gel: Make a batch of flaxseed gel by boiling 1/4 cup of flaxseeds in 2 cups of water. Stir occasionally until the mixture thickens, then strain the seeds and let the gel cool.
- Apply to Clean Hair: Start with clean, damp hair. Section your hair and apply the flaxseed gel from roots to tips, ensuring even coverage. Focus on the ends, where hair is often driest.
- Massage and Comb Through Gently massage the gel into your scalp to stimulate blood flow and nourish the roots. Use a wide-tooth comb to distribute the gel evenly throughout your hair.
- Leave On: Let the gel sit in your hair for 15-30 minutes to deeply hydrate and condition. For extra nourishment, you can leave it on for up to an hour or wrap your hair in a shower cap to trap heat.
- Rinse Thoroughly: After the mask has set, rinse your hair thoroughly with cool water to seal the cuticles and lock in moisture. You can follow up with your regular conditioner if desired.
I hope this recipe for an easy homemade hair gel is helpful to the other curly girl’s out there. Especially ones that are looking for toxin free options. Let me know if you have any questions or how it works for you!
And if you are like me and love making things, be sure to check out what gifts we made for Christmas Gifts: What Homemade Christmas Gifts We Love to Give.
How to Make Homemade Flaxseed Hair Gel
Equipment
- Pint Mason jar
- Sauce Pan
- Measuring cup
- 2 cup Liquid Measuring Cup
- Mesh Strainer
- Small glass or metal mixing bowl
- Funnel (optional)
Materials
- 1/4 cup flaxseed whole, brown or golden
- 2 cups Water divided 1, 1
- 5 drops Citrus Essential Oils any citrus can be used; to help preserve it
Instructions
- Take 1 cup of water and 1/4 cup flaxseed and pour in to sauce pan.
- Bring to a foamy boil, watching carefully to not let it over flow. Turn heat down as needed.
- Boil the mixture, stirring often for 2 minutes

- Then strain with mesh strainer either directly in to the mason jar if you have a funnel.Or strain in to a mixing bowl, removing the flax seeds.
- Now repeat the process with the additional 1 cup of water and return the same flax seeds to the water.
- Bring to a foamy boil again, this time for 3 minutes. Stir often.
- Strain the gel in to the jar or bowl again.
- Immeditatly rinse out sauce pan. (Otherwise it is very hard to clean if you wait.)
- If you used a bowl to catch the gel from being strained, pour it in to the liquid measuring cup to easily pour it in to the mason jar for storage.
- Add 5 drops of your desired citrus essential oil to help preserve the gel
- Store in the fridge for best results
Your step by step instructions made this recipe so easy to make. Thank you! I loved how this flaxseed gel turned out.
I’m so happy that it was helpful and I love watching your CG hair progress!